Edit an Existing Floor Plan Online Without Redrawing It
Update an existing floor plan. Select an area, remove furniture or labels, or add a simple item. Compare the original and result, then download the edited image.
PNG / JPG / WEBP inputLocal area selectionOriginal + result reviewDownload the result
TRY THE TOOL
Edit an existing floor plan in one focused workspace
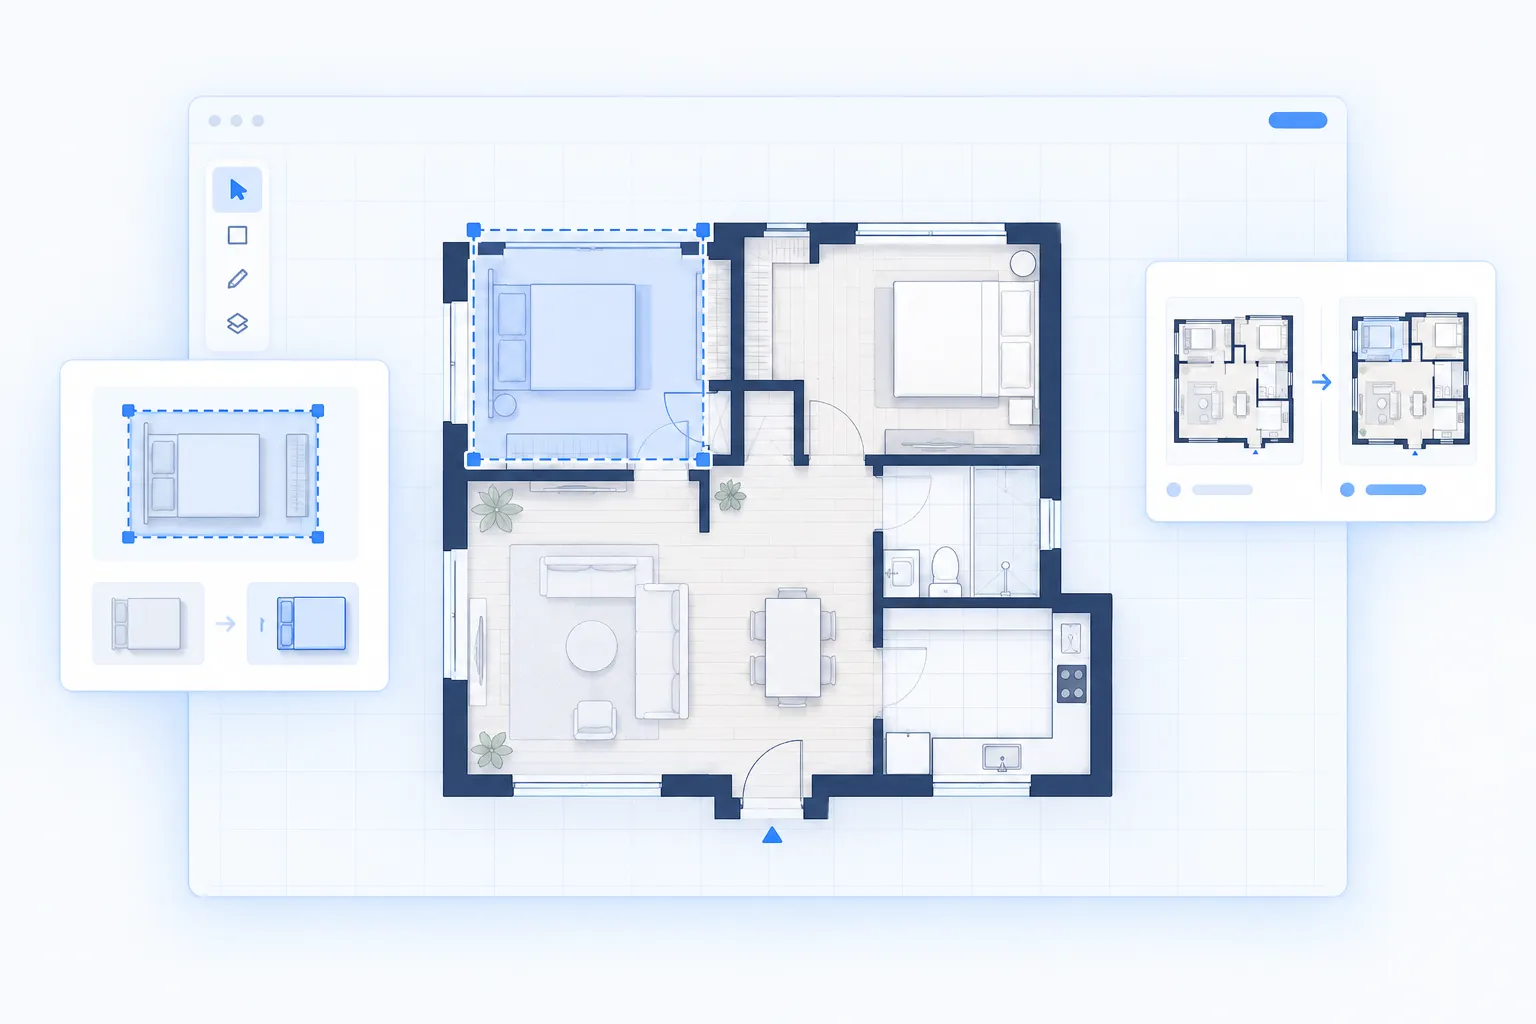
Upload a floor plan, select an area, and describe the change. Review the result, then download the edited image or continue editing it.
Focused workflow
Ready to editYour floor plan · Local edit
FEATURES
Features for focused local floor plan edits
Make a clear local update to an existing floor plan image instead of rebuilding the entire drawing.
SELECT THE AREA
Edit only the part of the floor plan that needs attention
When you edit an existing floor plan , you usually do not need to rebuild every room. Select the target area first so the change stays local and predictable.
Brush-based selection
Rectangle option
Focused local edit
Protected outside area
REMOVE OR ADD
Remove furniture, labels, or clutter—or add a simple item
Use practical actions for common floor plan editing tasks. Update presentation details or planning context without turning a local change into full CAD reconstruction.
Remove furniture
Remove labels
Add a sofa or dining set
Keep walls and doors intact
COMPARE THE RESULT
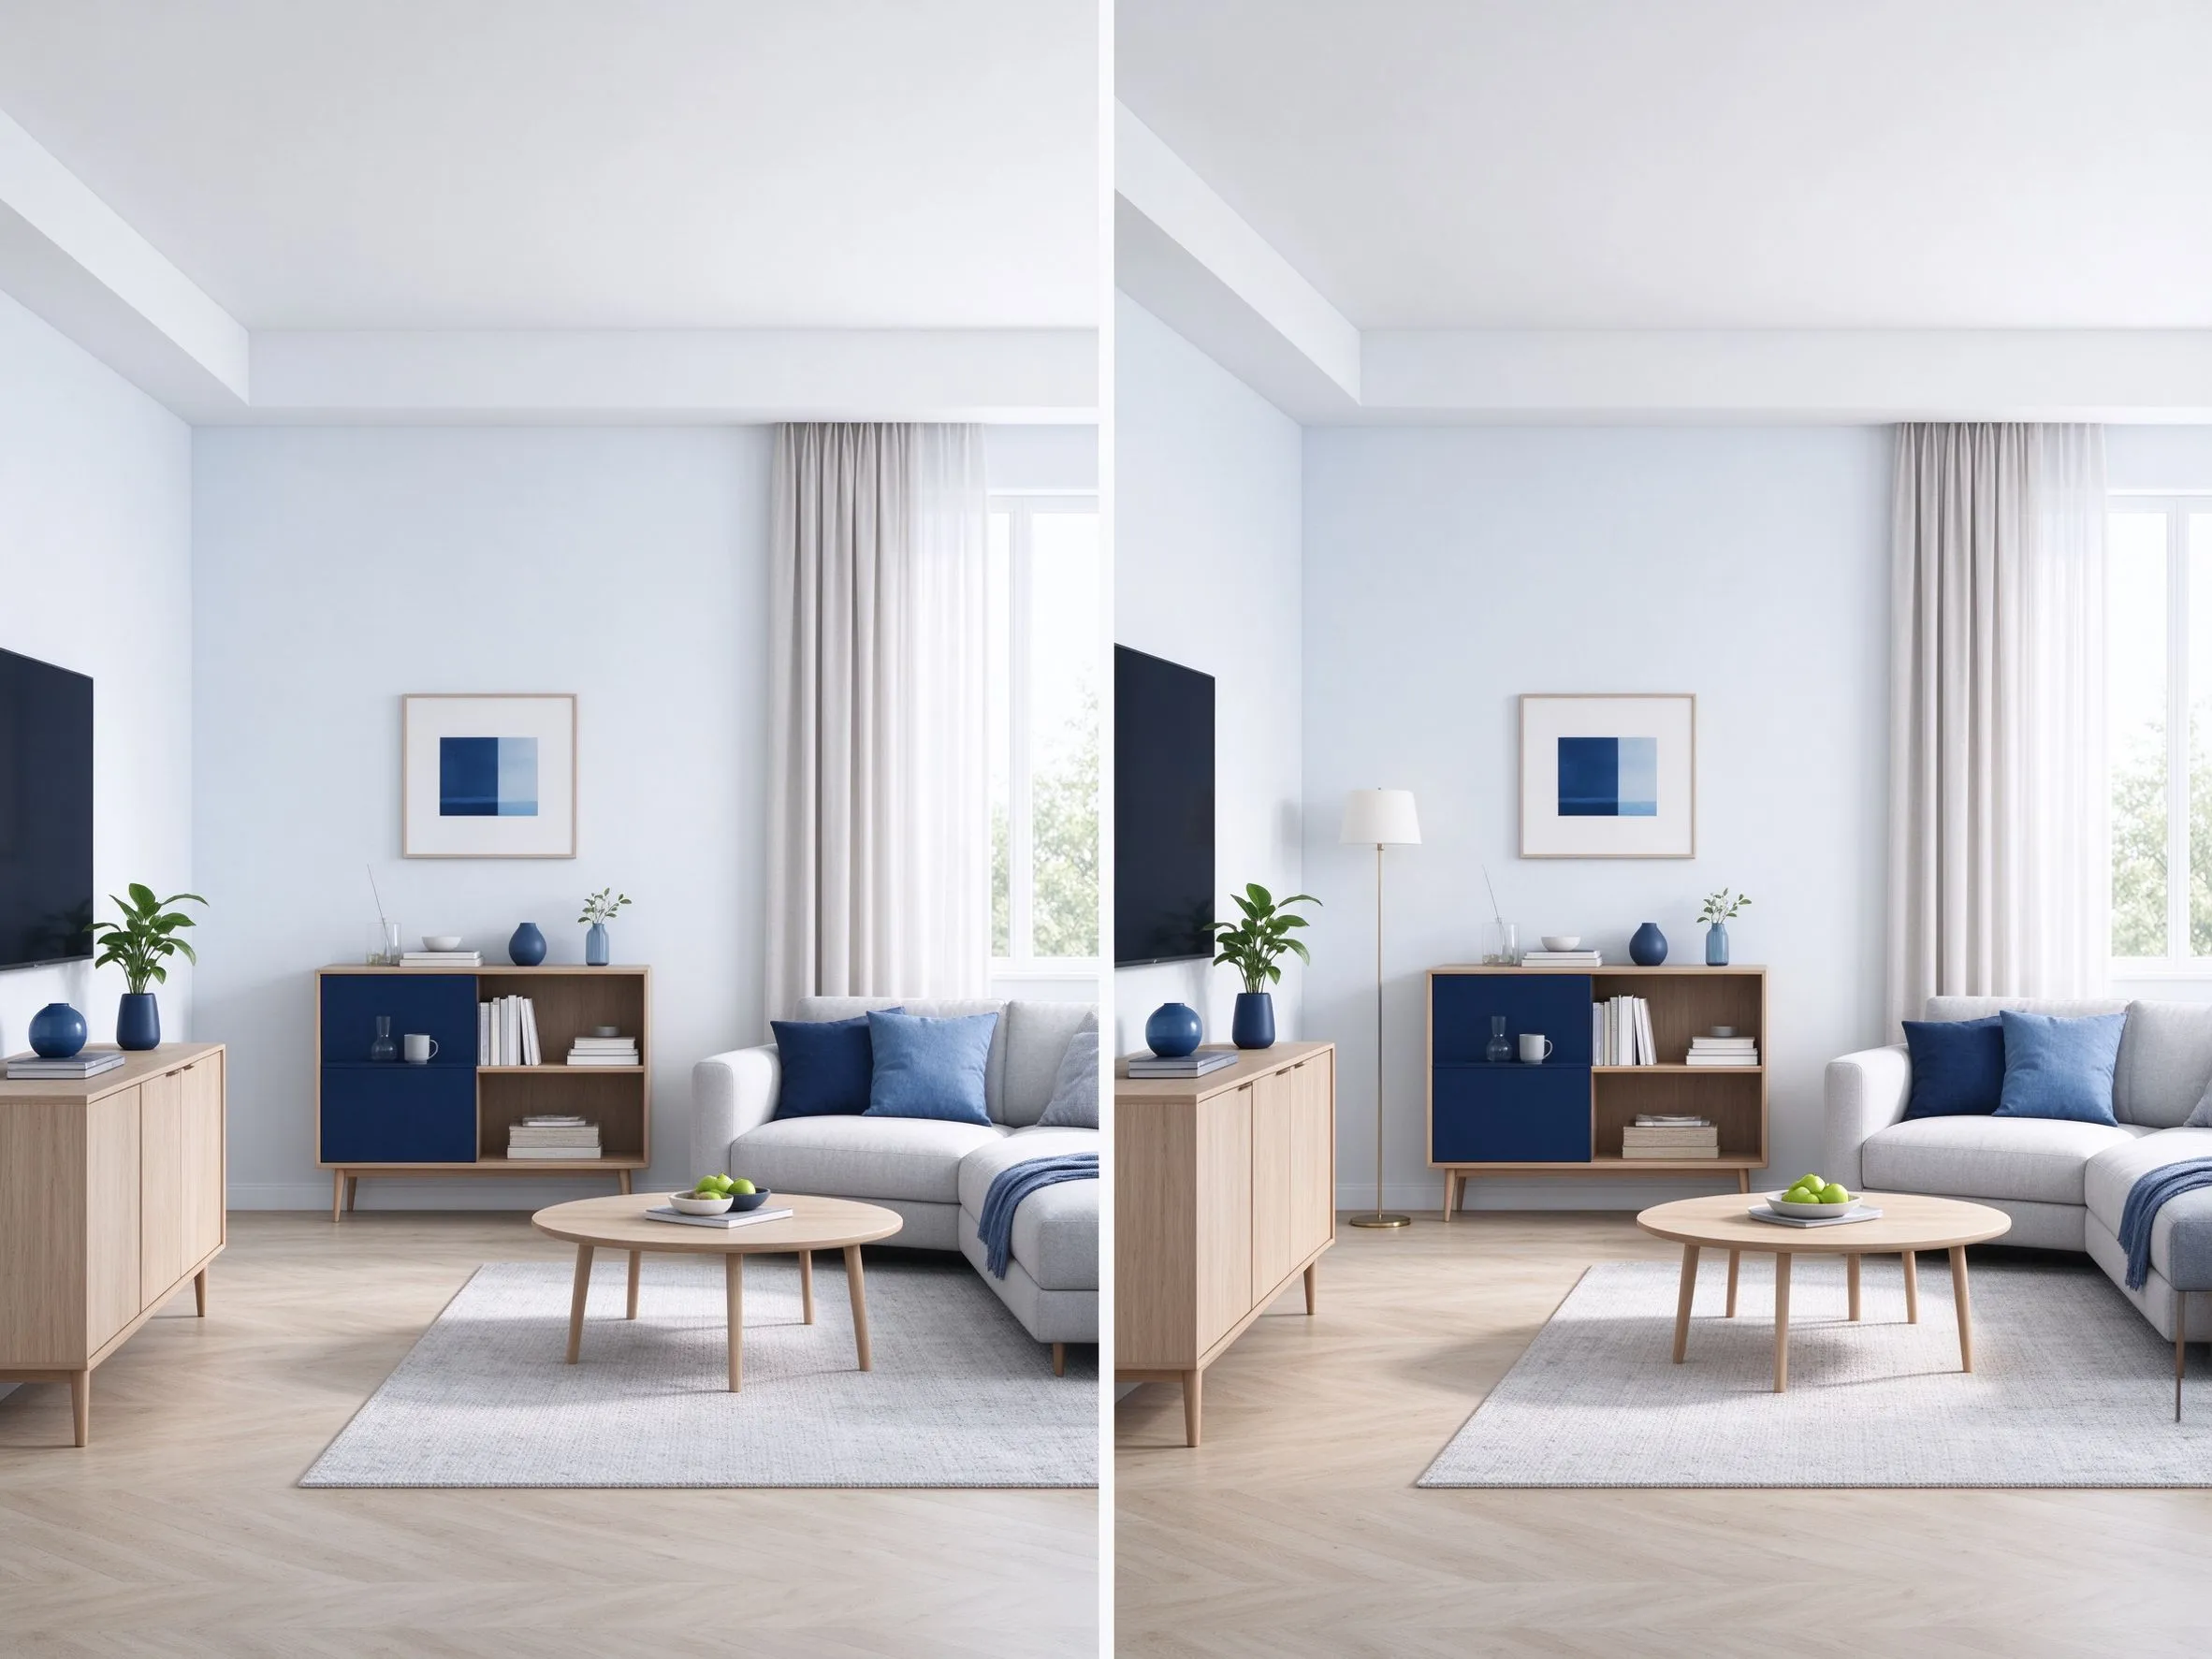
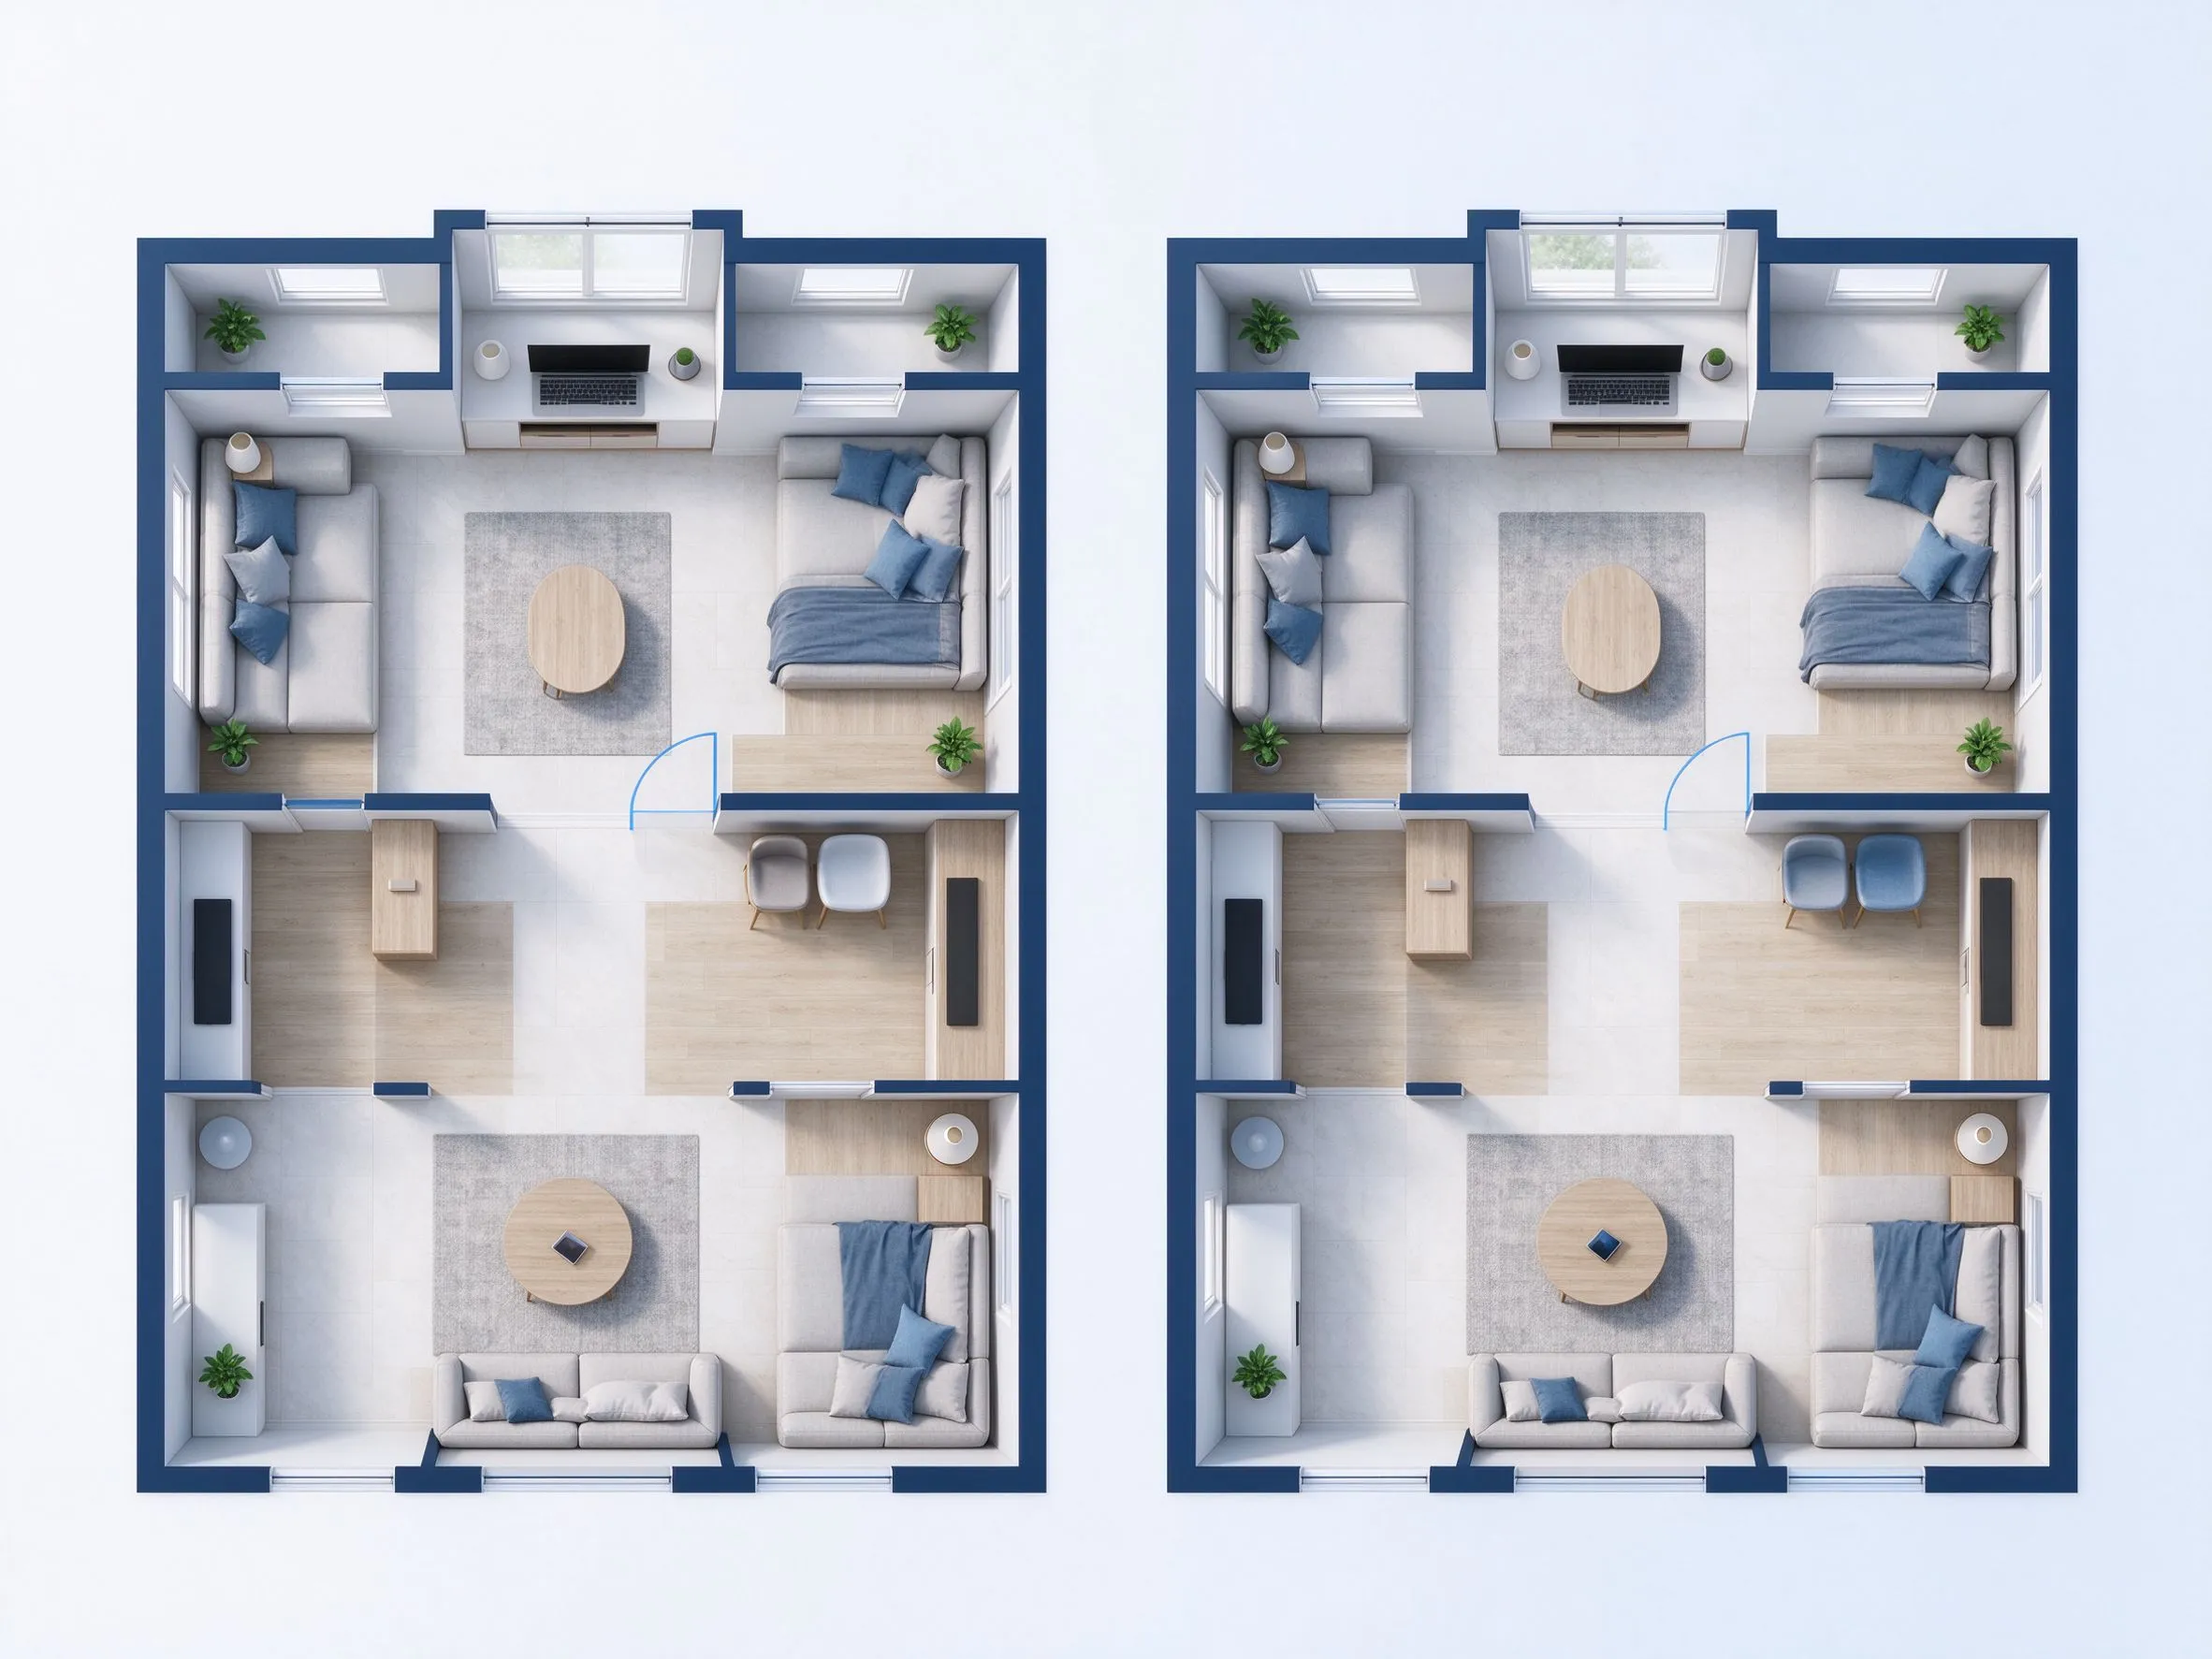
Review Original and Result side by side
Compare the selected area with the original before downloading. Check placement, labels, and wall alignment.
Original view
Edited result
Selection context
Download the result
CONTINUE EDITING
Use a focused edit instead of redrawing the whole plan
Open a result from the house or sketch tool in Floor Plan Editor. Make focused changes, review the result, and download the updated image.
Continue from another tool
Make one focused change
Review the result
Export the updated image
HOW TO
How to edit a floor plan online in three steps
Update one part of an existing floor plan image without redrawing the whole layout.
01
Upload the existing plan
Use a PNG, JPG or WEBP image as your starting plan.
02
Select and edit
Mark the area you want to change, then describe the object, its location, and what must stay unchanged.
03
Review and download
Compare the selected area with the original before downloading. Check placement, labels, and wall alignment.
EXAMPLES
Examples of common local floor plan edits
These before-and-after scenarios show the types of focused updates you can make to an existing floor plan image.
Remove a Living Room Sofa
Local furniture removal
Clean Room Labels
Label cleanup in one area
Add a Dining Set
Add furniture to an empty zone
Add a Three-Seat Sofa
Simple furniture replacement
USE CASES
Common reasons to edit an existing floor plan
Use local editing when an existing plan only needs one focused update.
Furniture Removal
Remove unwanted furniture without rebuilding the surrounding rooms.
Label Cleanup
Clear labels or clutter for a cleaner presentation image.
Furniture Addition
Add a simple item where the plan needs more context.
Review the result
Compare the selected area with the original before downloading. Check placement, labels, and wall alignment.
WHY CHOOSE THIS WORKFLOW
Focused editing, visible boundaries
The workflow is built around a simple promise: make a local change, review it, and keep the rest of the plan easy to trust.
1
selected area
The active change is tied to one clear working area.
0
full redraws
Focus on the local edit instead of recreating the whole plan.
2
review states
Compare the selected area with the original before downloading. Check placement, labels, and wall alignment.
PNG
image download
Download the result as an image.
This workflow is designed for focused planning and presentation changes. The selected boundary stays visible so you can review what changed before downloading.
NEXT STEP
Continue with the next planning task
Move into generation or start from a floor plan sketch when the brief itself still needs work.
Answers about image uploads, local selection boundaries, common edits, and reviewing results.
The editor is designed for local changes such as removing furniture or labels and adding a simple item within a selected area.
Brush selections limit edits to the painted or enclosed area and preserve exterior pixels. Without a selection, Prompt, Annotations and Style apply to the whole plan. Click markers identify target objects or locations; review the result to check that unrelated content stays unchanged.
Yes. Upload a PNG, JPG or WEBP floor plan image up to 20 MB.
Yes. Mark the relevant area, use the Remove furniture suggestion, and review the result before downloading.
Yes. Mark the area and describe a sofa, dining set, or another simple item in your instruction. Review the placement before downloading.
Yes. Review the original and edited result side by side, then download the revised plan when it is ready.
Need to edit one part of an existing floor plan?
Upload a floor plan, select an area, and describe the change. Review the result, then download the edited image or continue editing it.