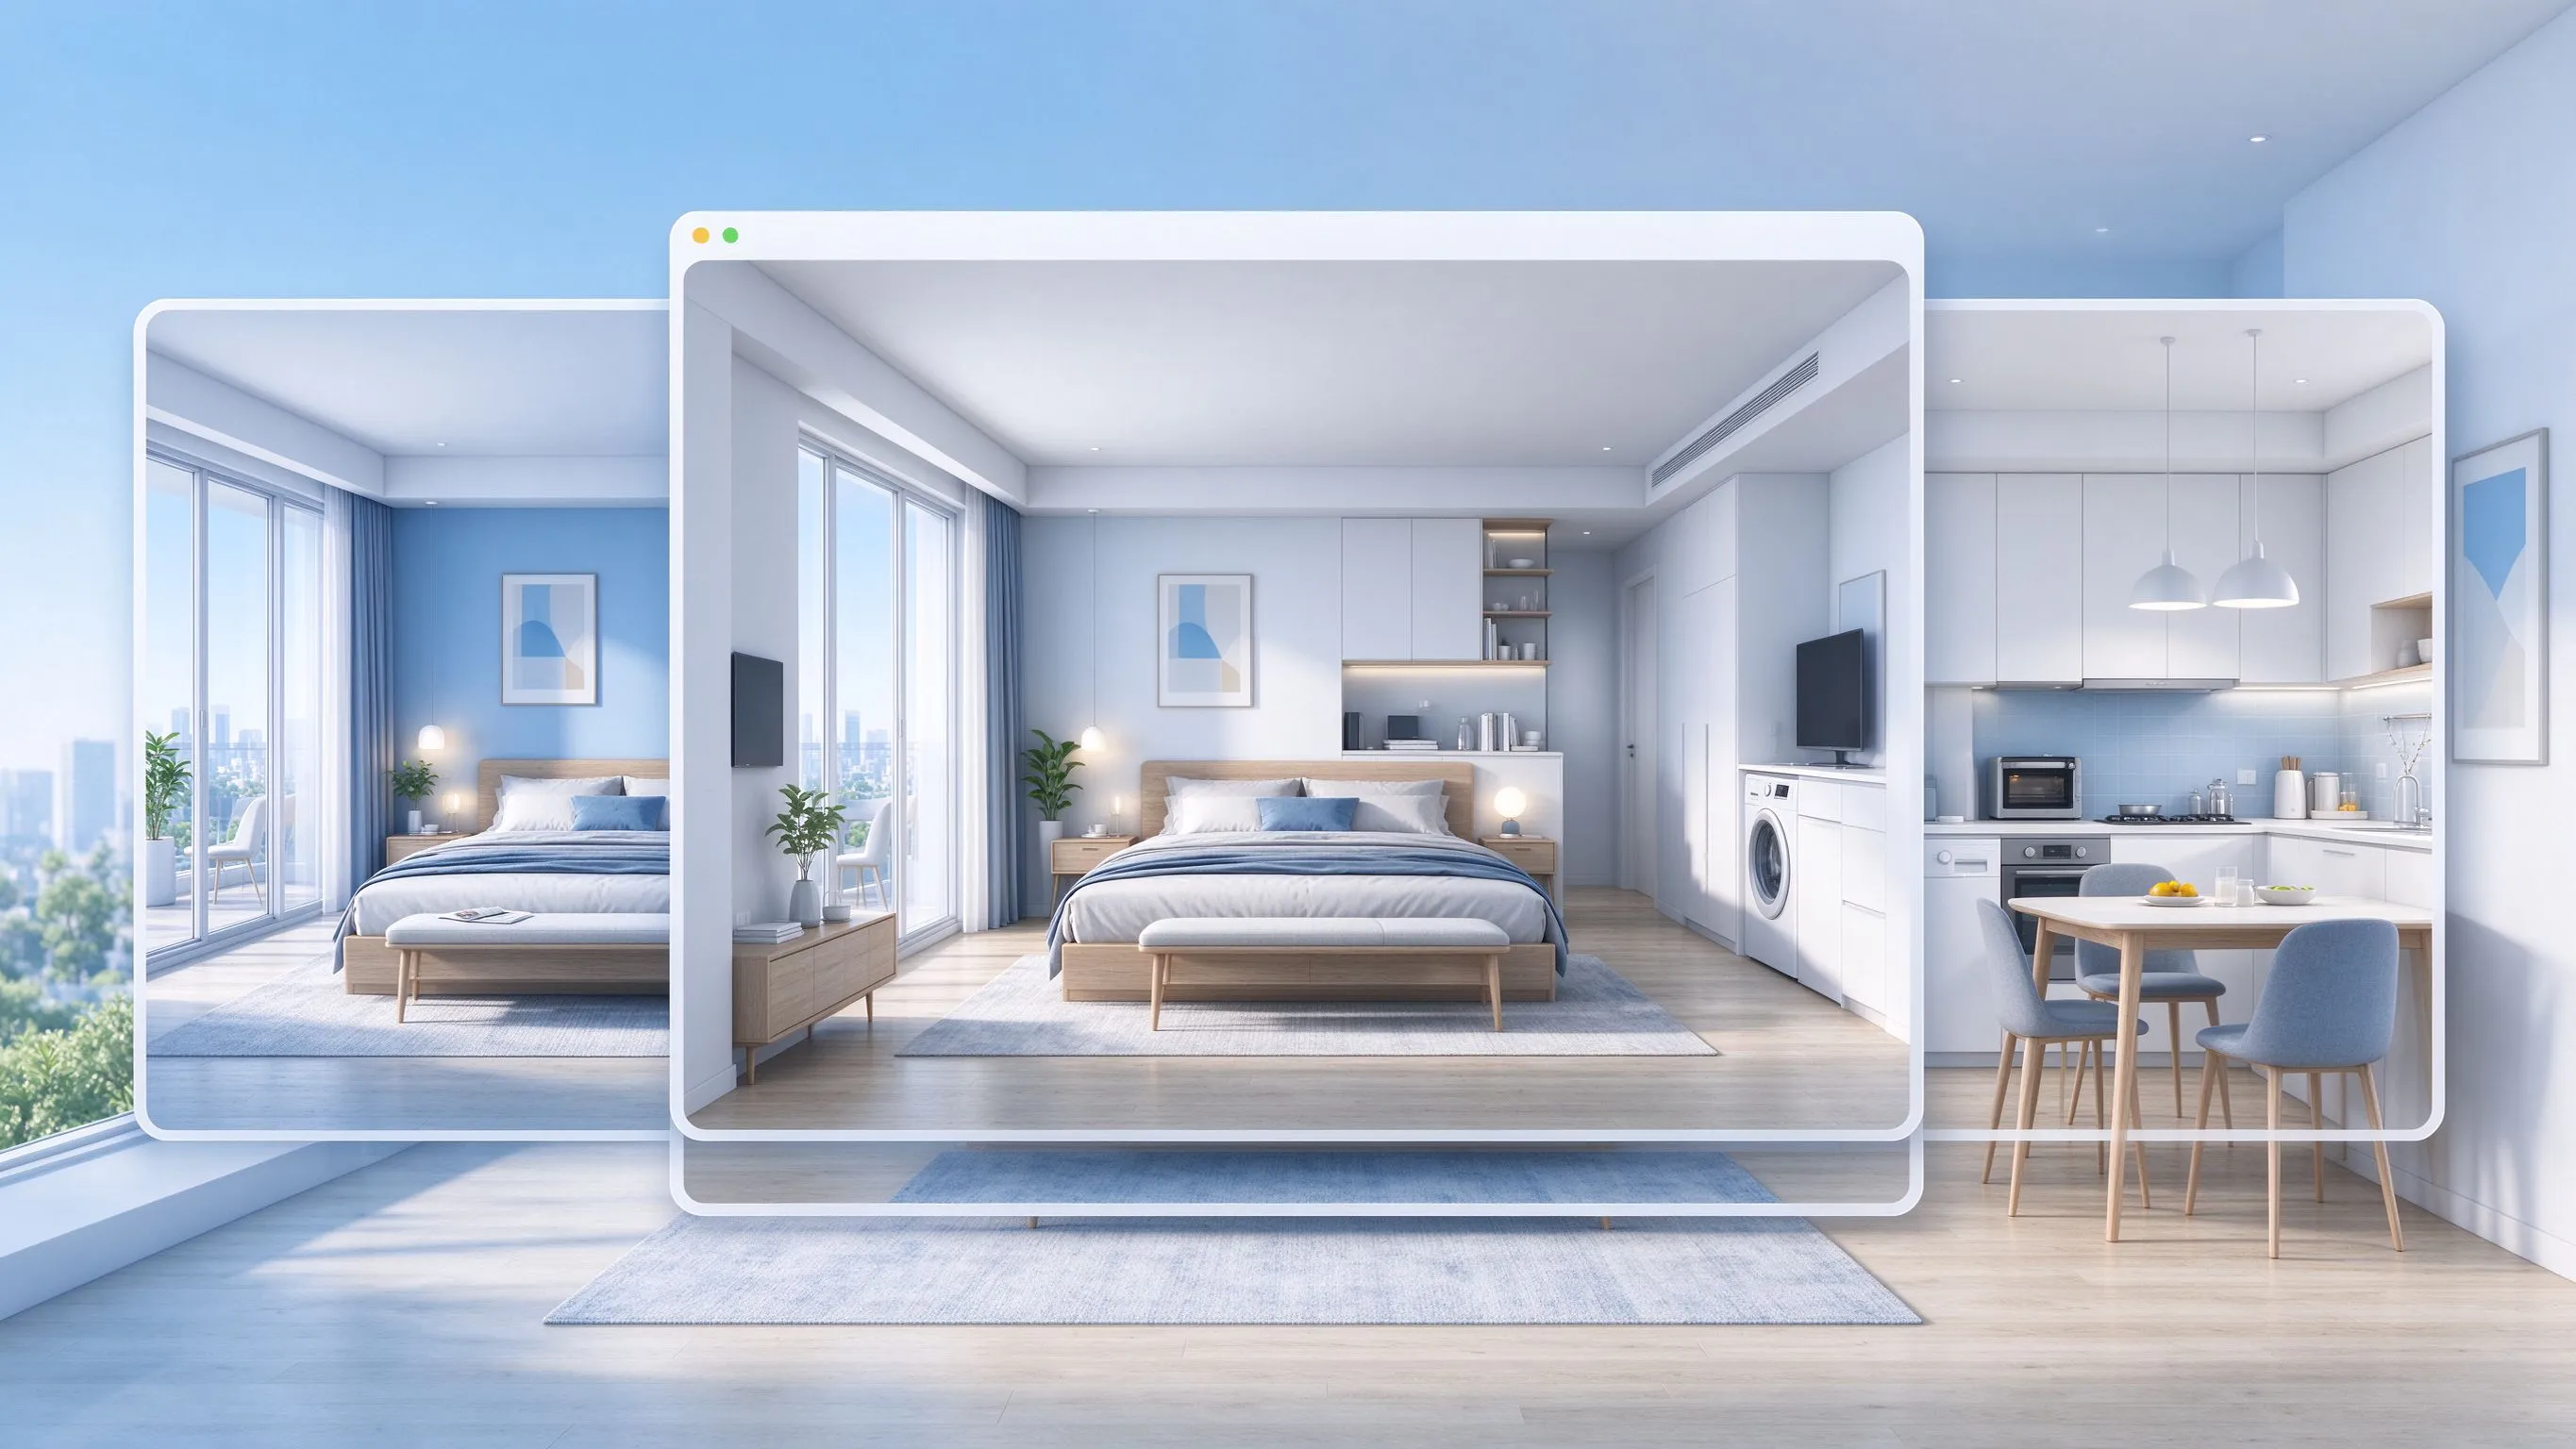
FLOOR PLAN TO 3D

Convert a Floor Plan to 3D Online

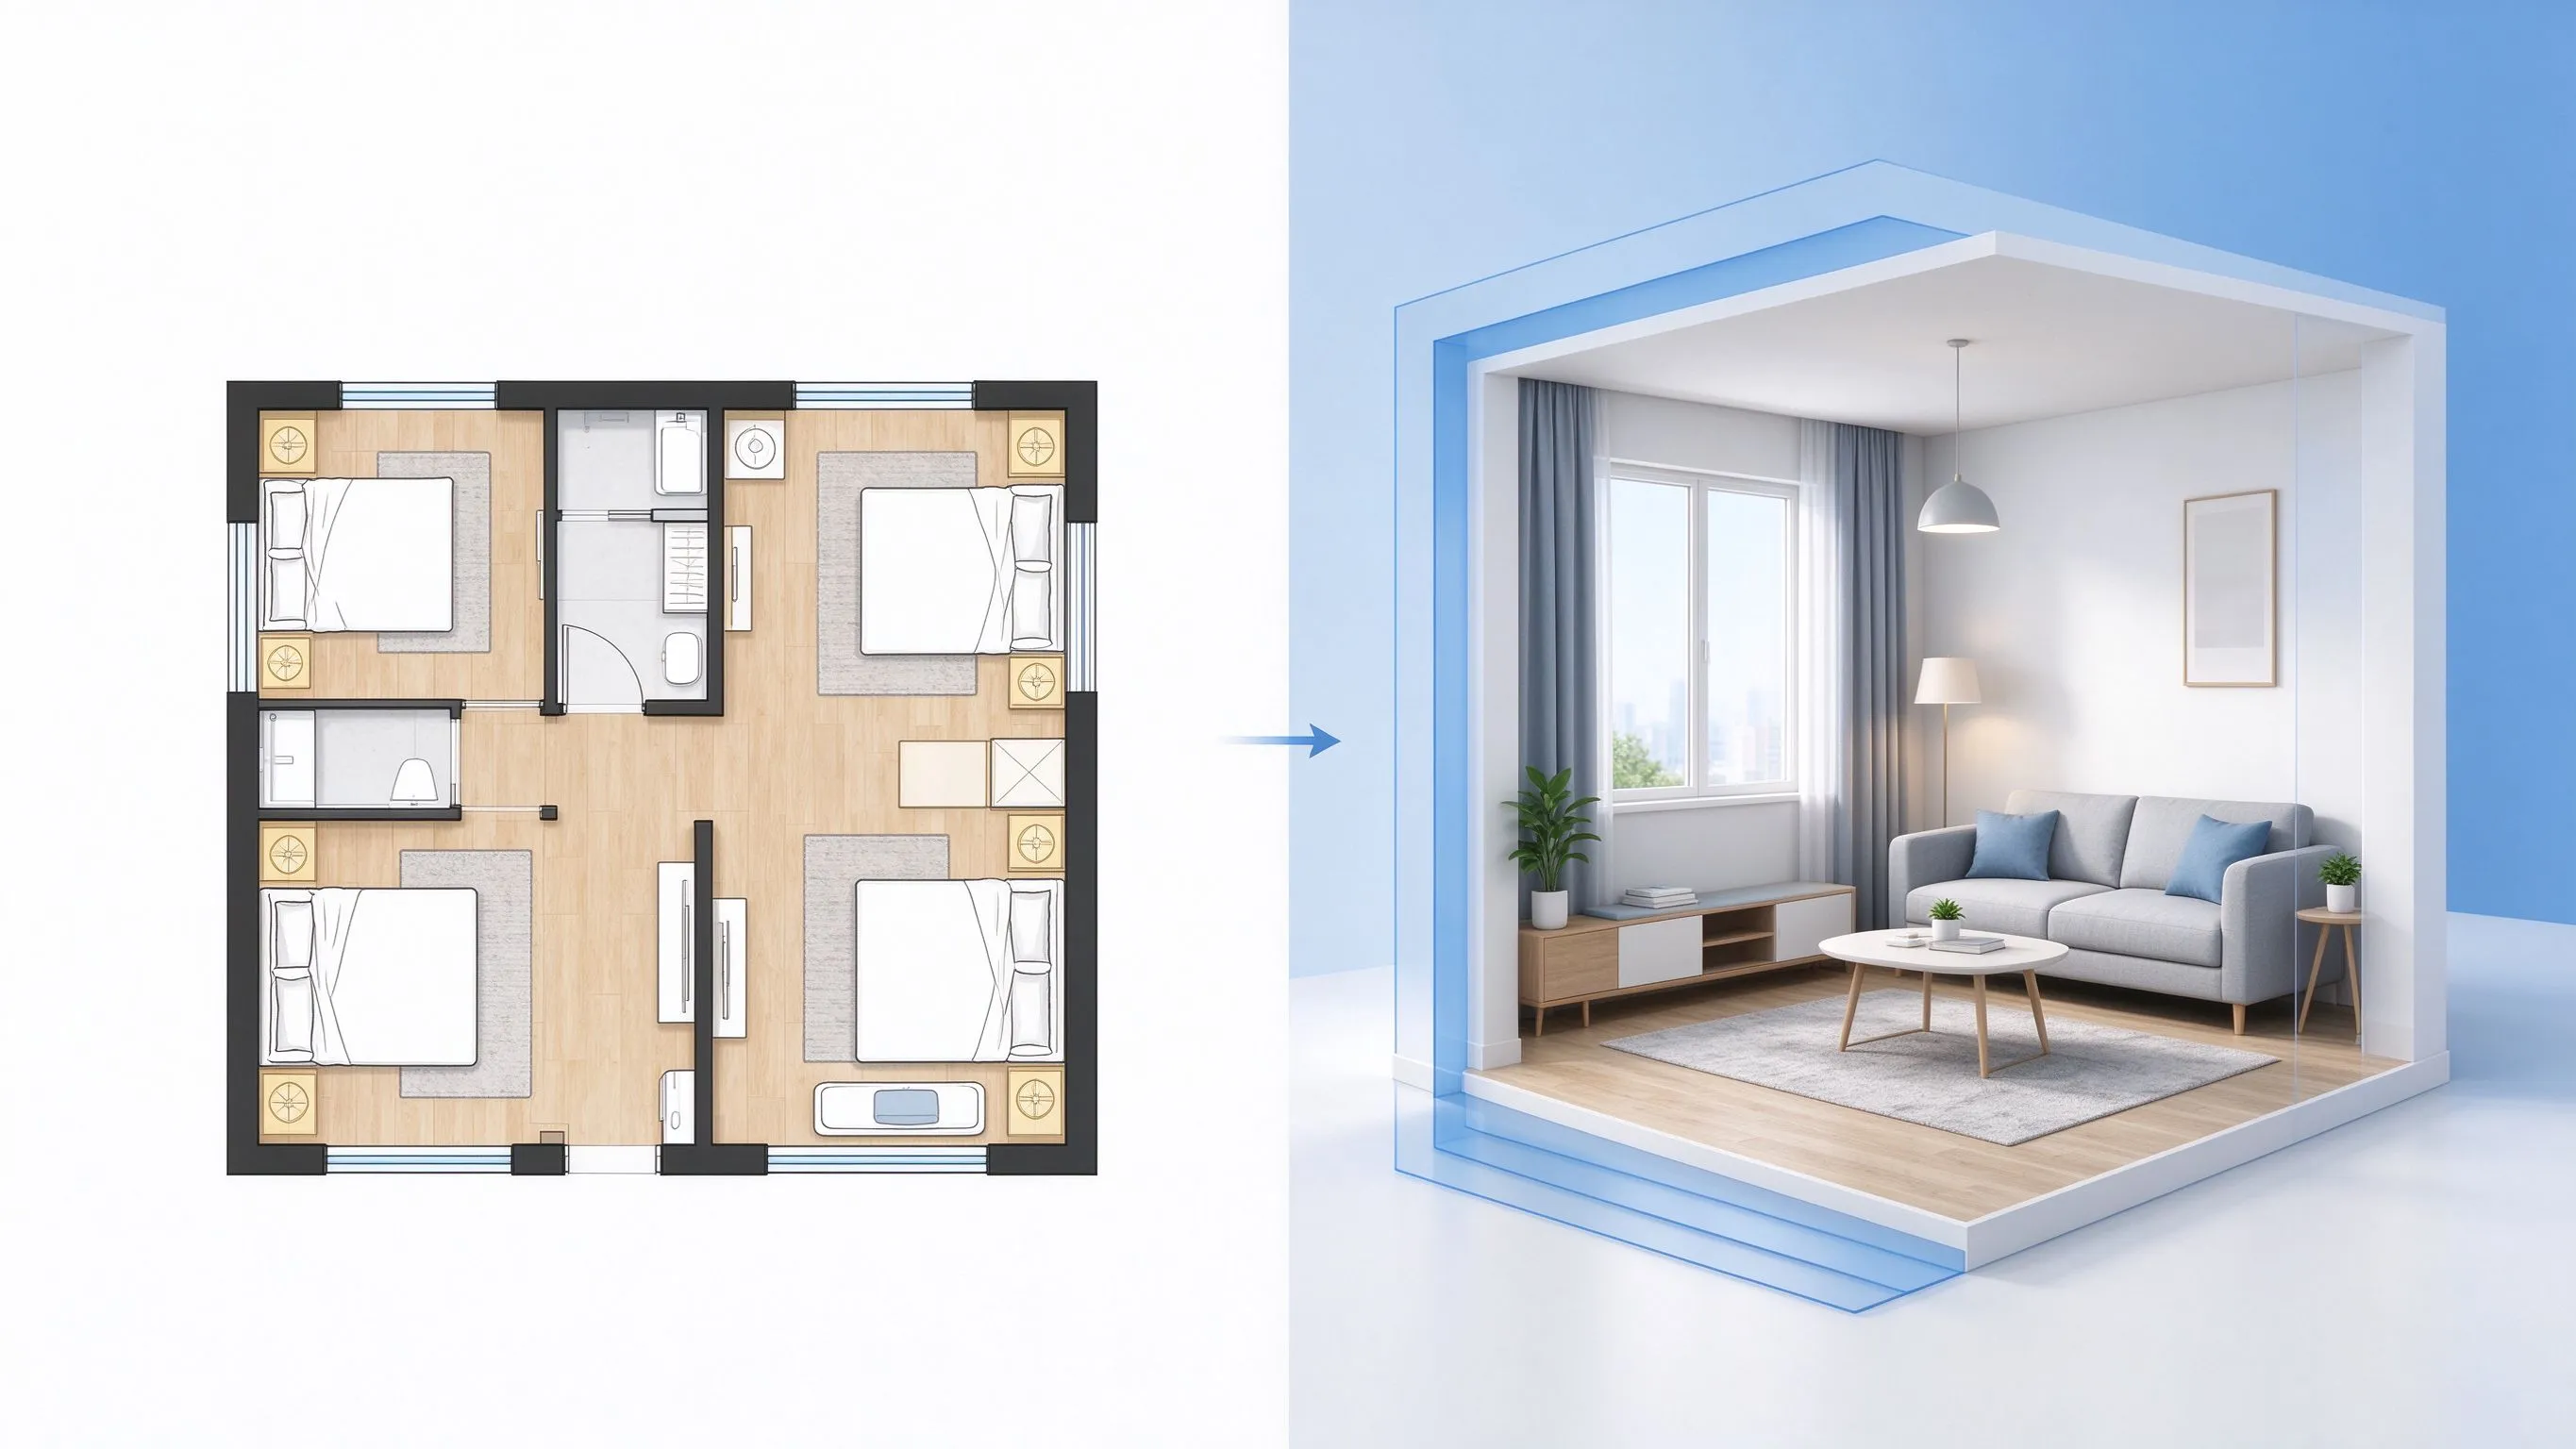
Upload an existing floor plan and turn it into a clearer 3D visualization. Choose the rendering style, view angle, and background, add optional requirements, and review the generated result.

PNG / JPG inputRendering styleView angleBackground control
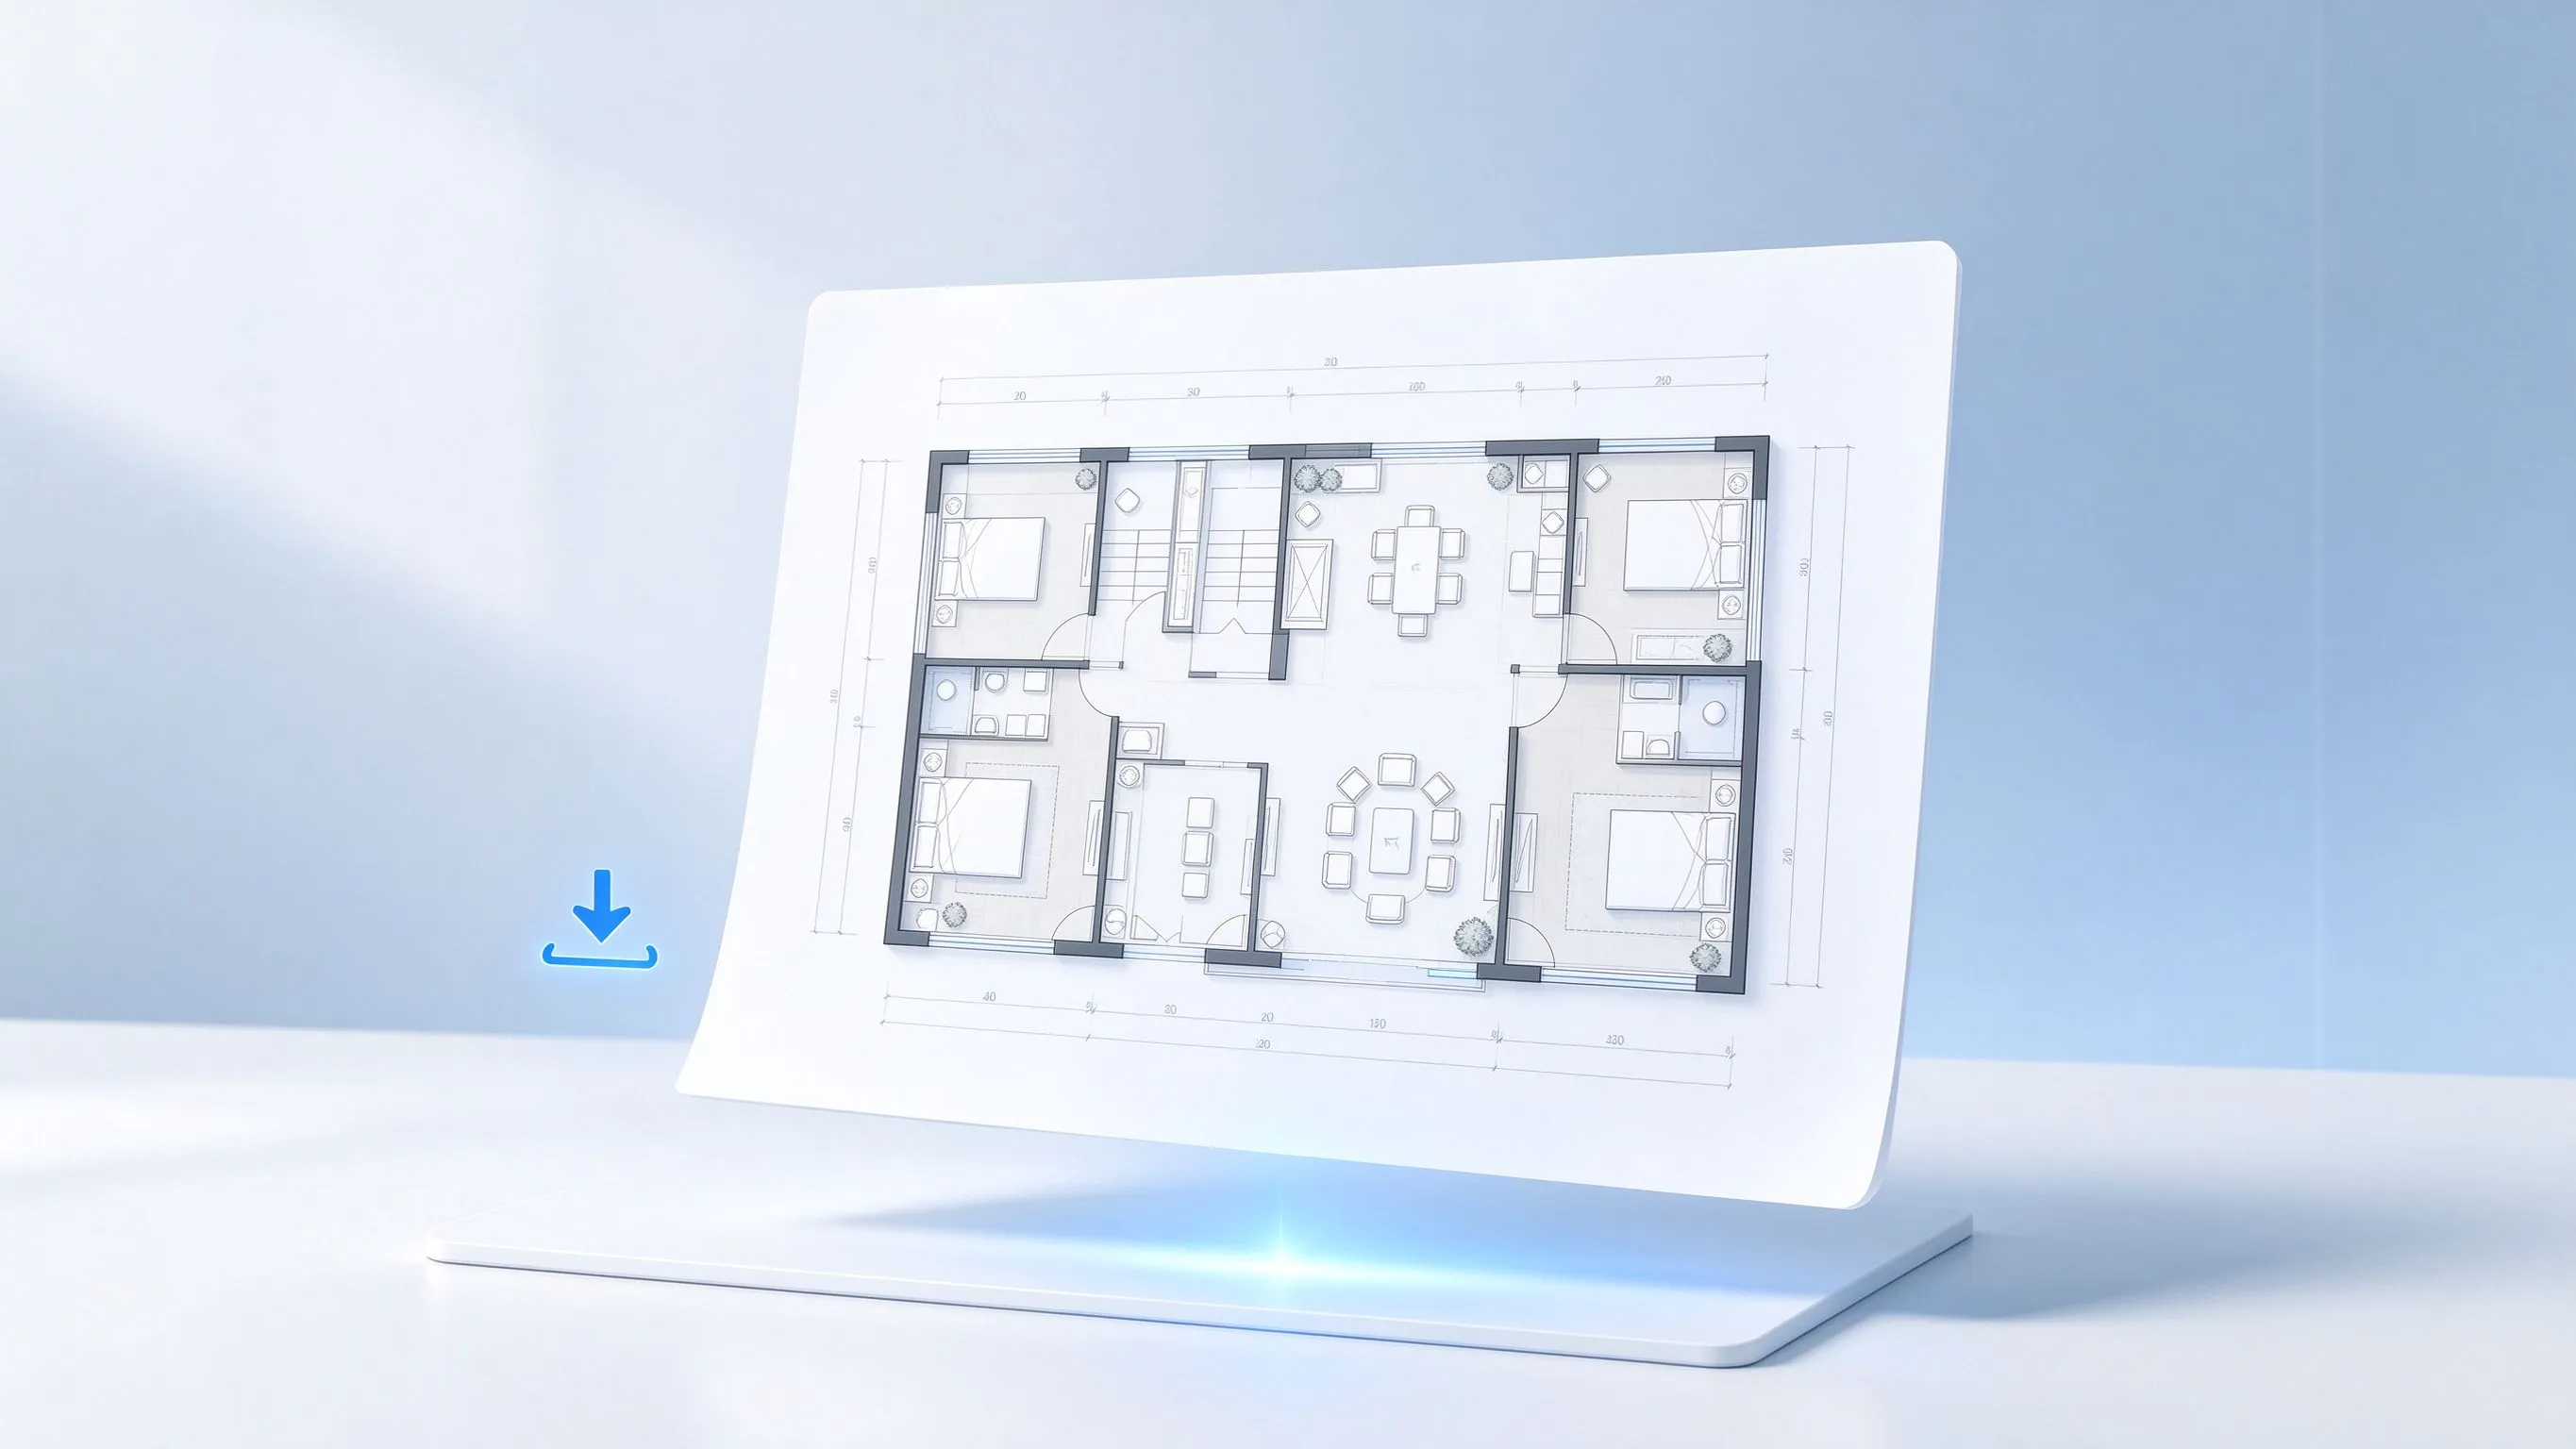
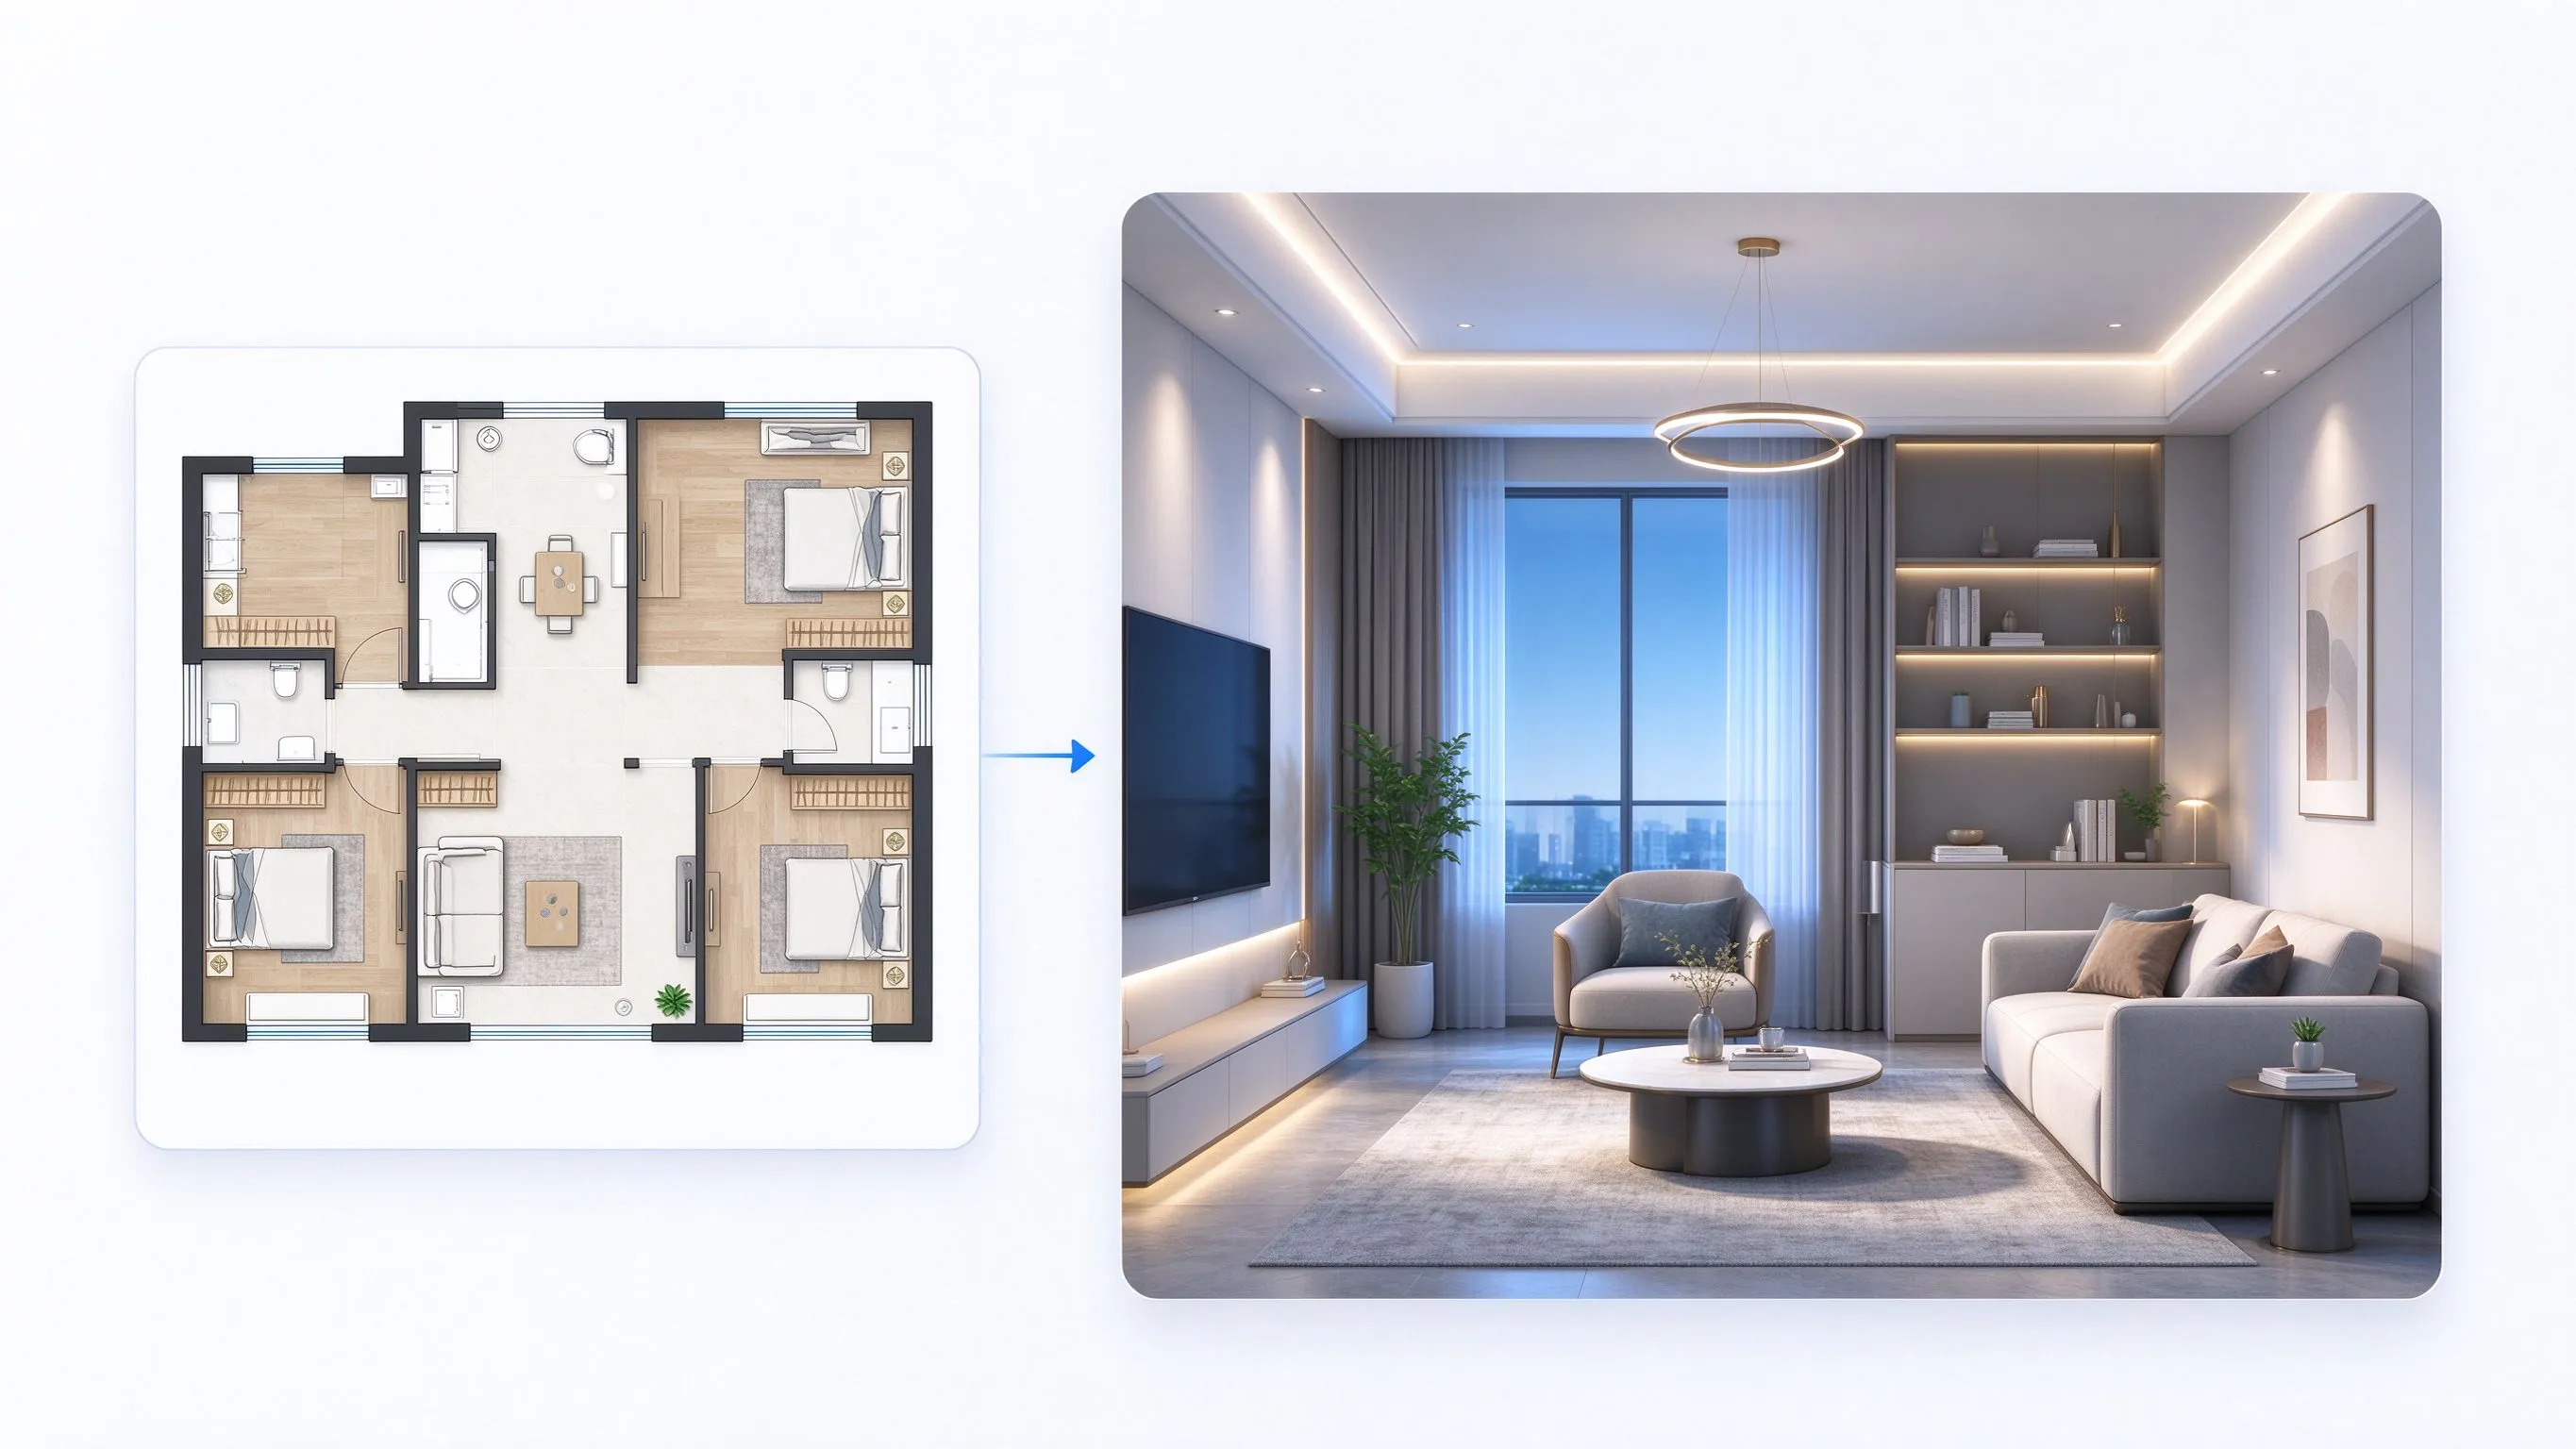
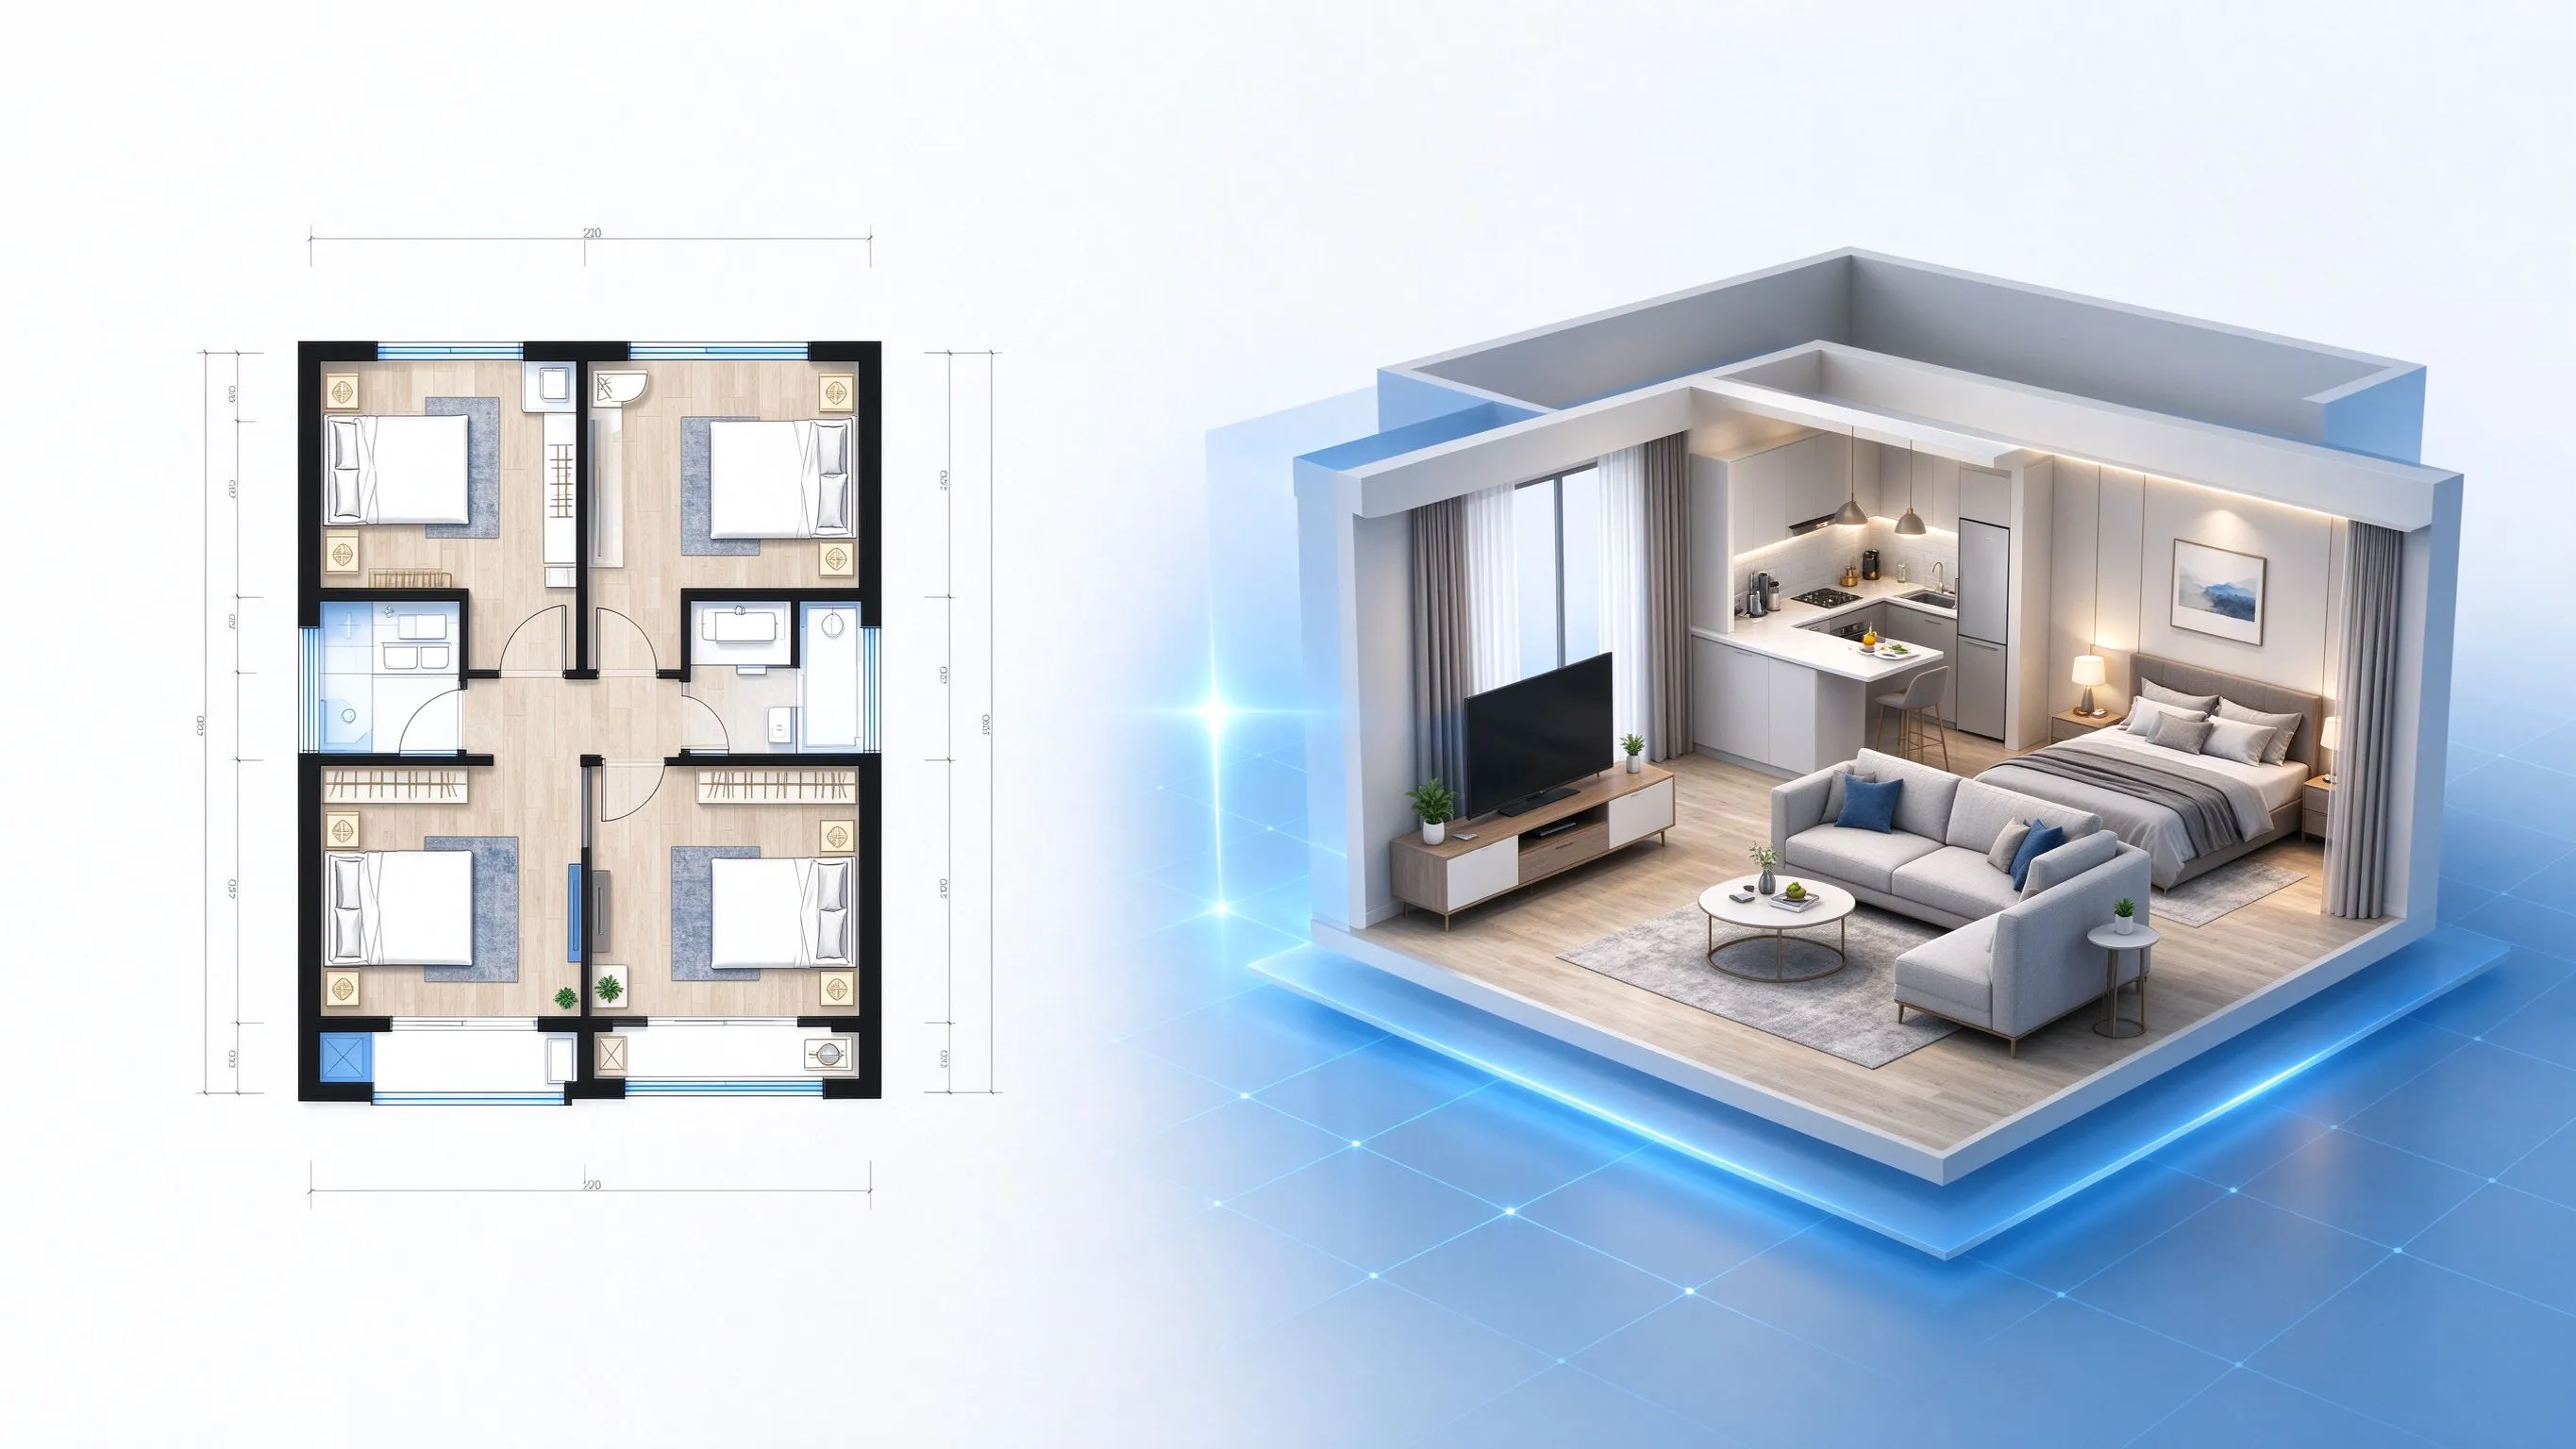
FLOOR PLAN TO 3D: example floor plan
TRY THE TOOL

Convert a floor plan to 3D in one focused workspace

Upload a 2D floor plan, choose the rendering style, view angle, and background, then generate a 3D visualization without rebuilding the layout.

Upload → Customize → Generate
3D visualization workspace
3D ResultStyle · View angle · Background
Generated visualizationWaiting for input
Example preview
PhotorealisticBird’s Eye ViewIsolated on white
FEATURES

Floor plan to 3D features for clearer spatial visualization

Keep the workflow focused on one job: take an existing 2D plan and turn it into a useful 3D view for planning, presentation, and design review.

Start from a floor plan you already have
CONVERT THE EXISTING PLAN

Start from a floor plan you already have

If the layout is already decided, you do not need another generator. Upload the existing plan and use it as the base for a more visual 3D representation.

  • PNG or JPG input
  • Existing room layout as the source
  • Walls and openings guide the view
  • No need to redraw the plan

Choose the style, view angle, and background
CONTROL THE PRESENTATION

Choose the style, view angle, and background

Set how the generated visualization should look without adding technical modeling controls. Use the three focused options to match the result to planning, presentation, or marketing needs.

  • Photorealistic, blueprint, minimalist, artistic, or wireframe
  • Bird's-eye, top-down, and perspective views
  • White, neighborhood, garden, or seaside background
  • Optional requirements for visual details
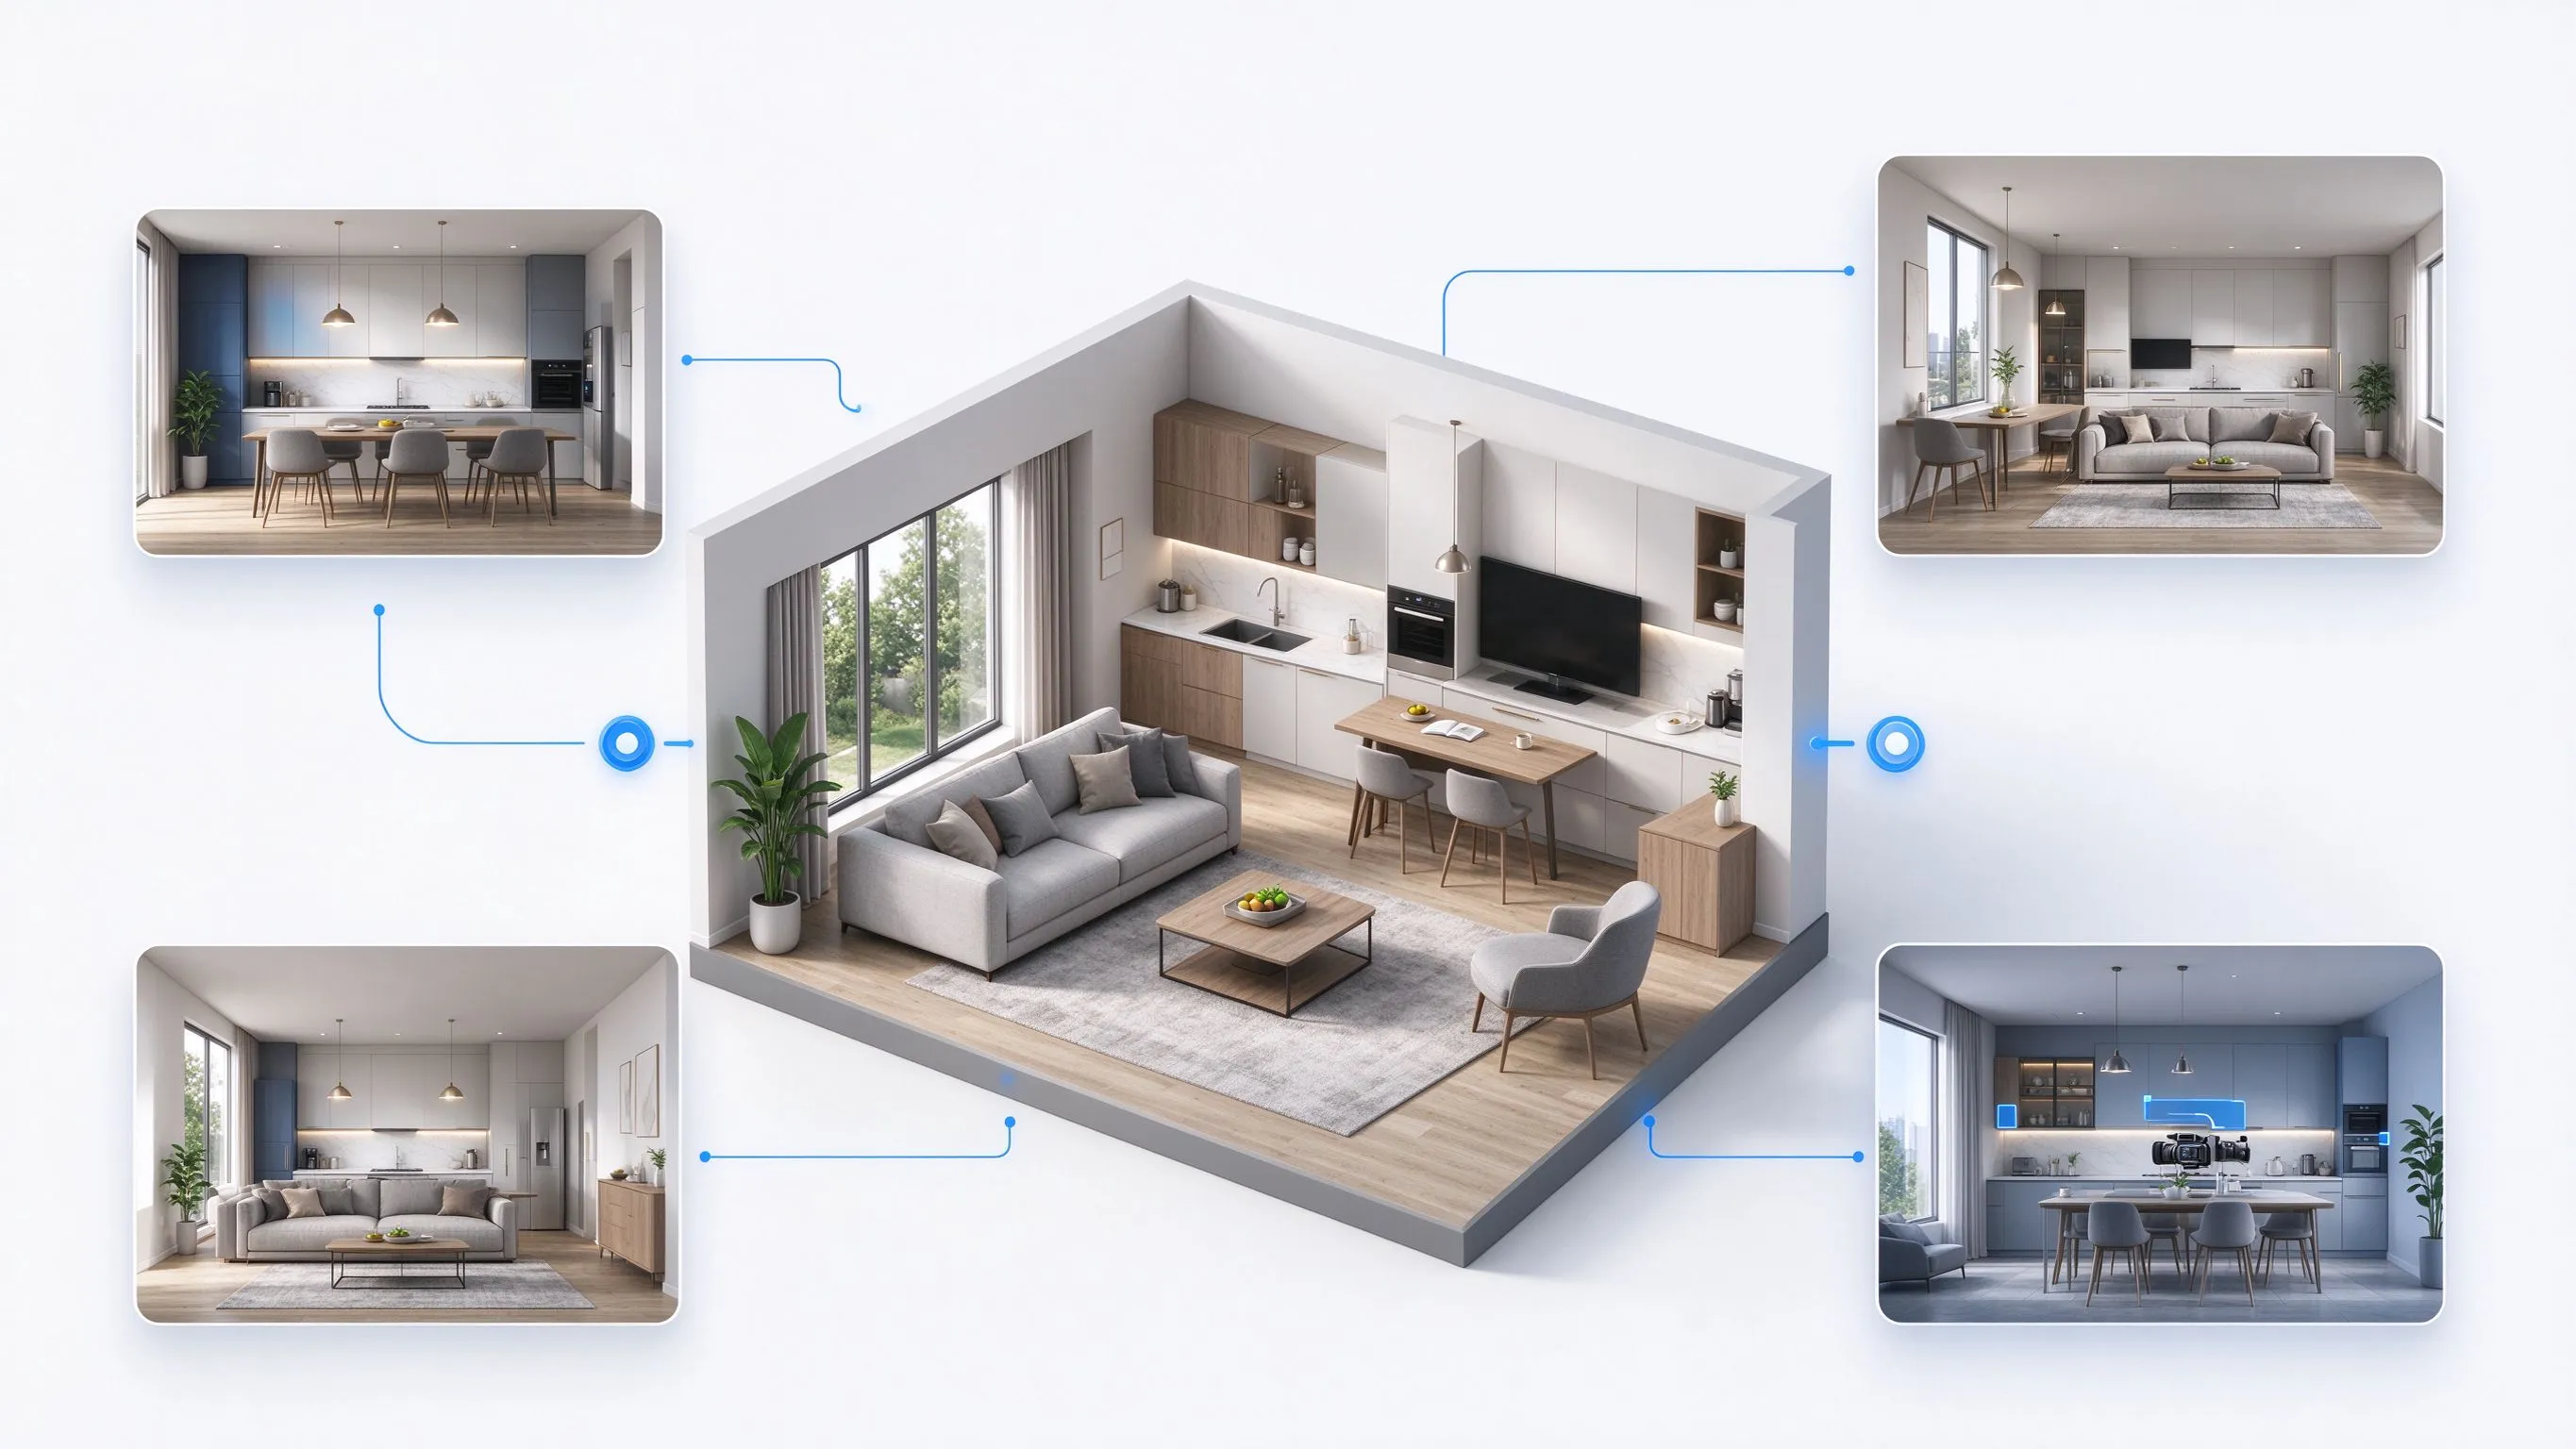
Use 3D to understand rooms, circulation, and furniture
SEE THE SPACE DIFFERENTLY

Use 3D to understand rooms, circulation, and furniture

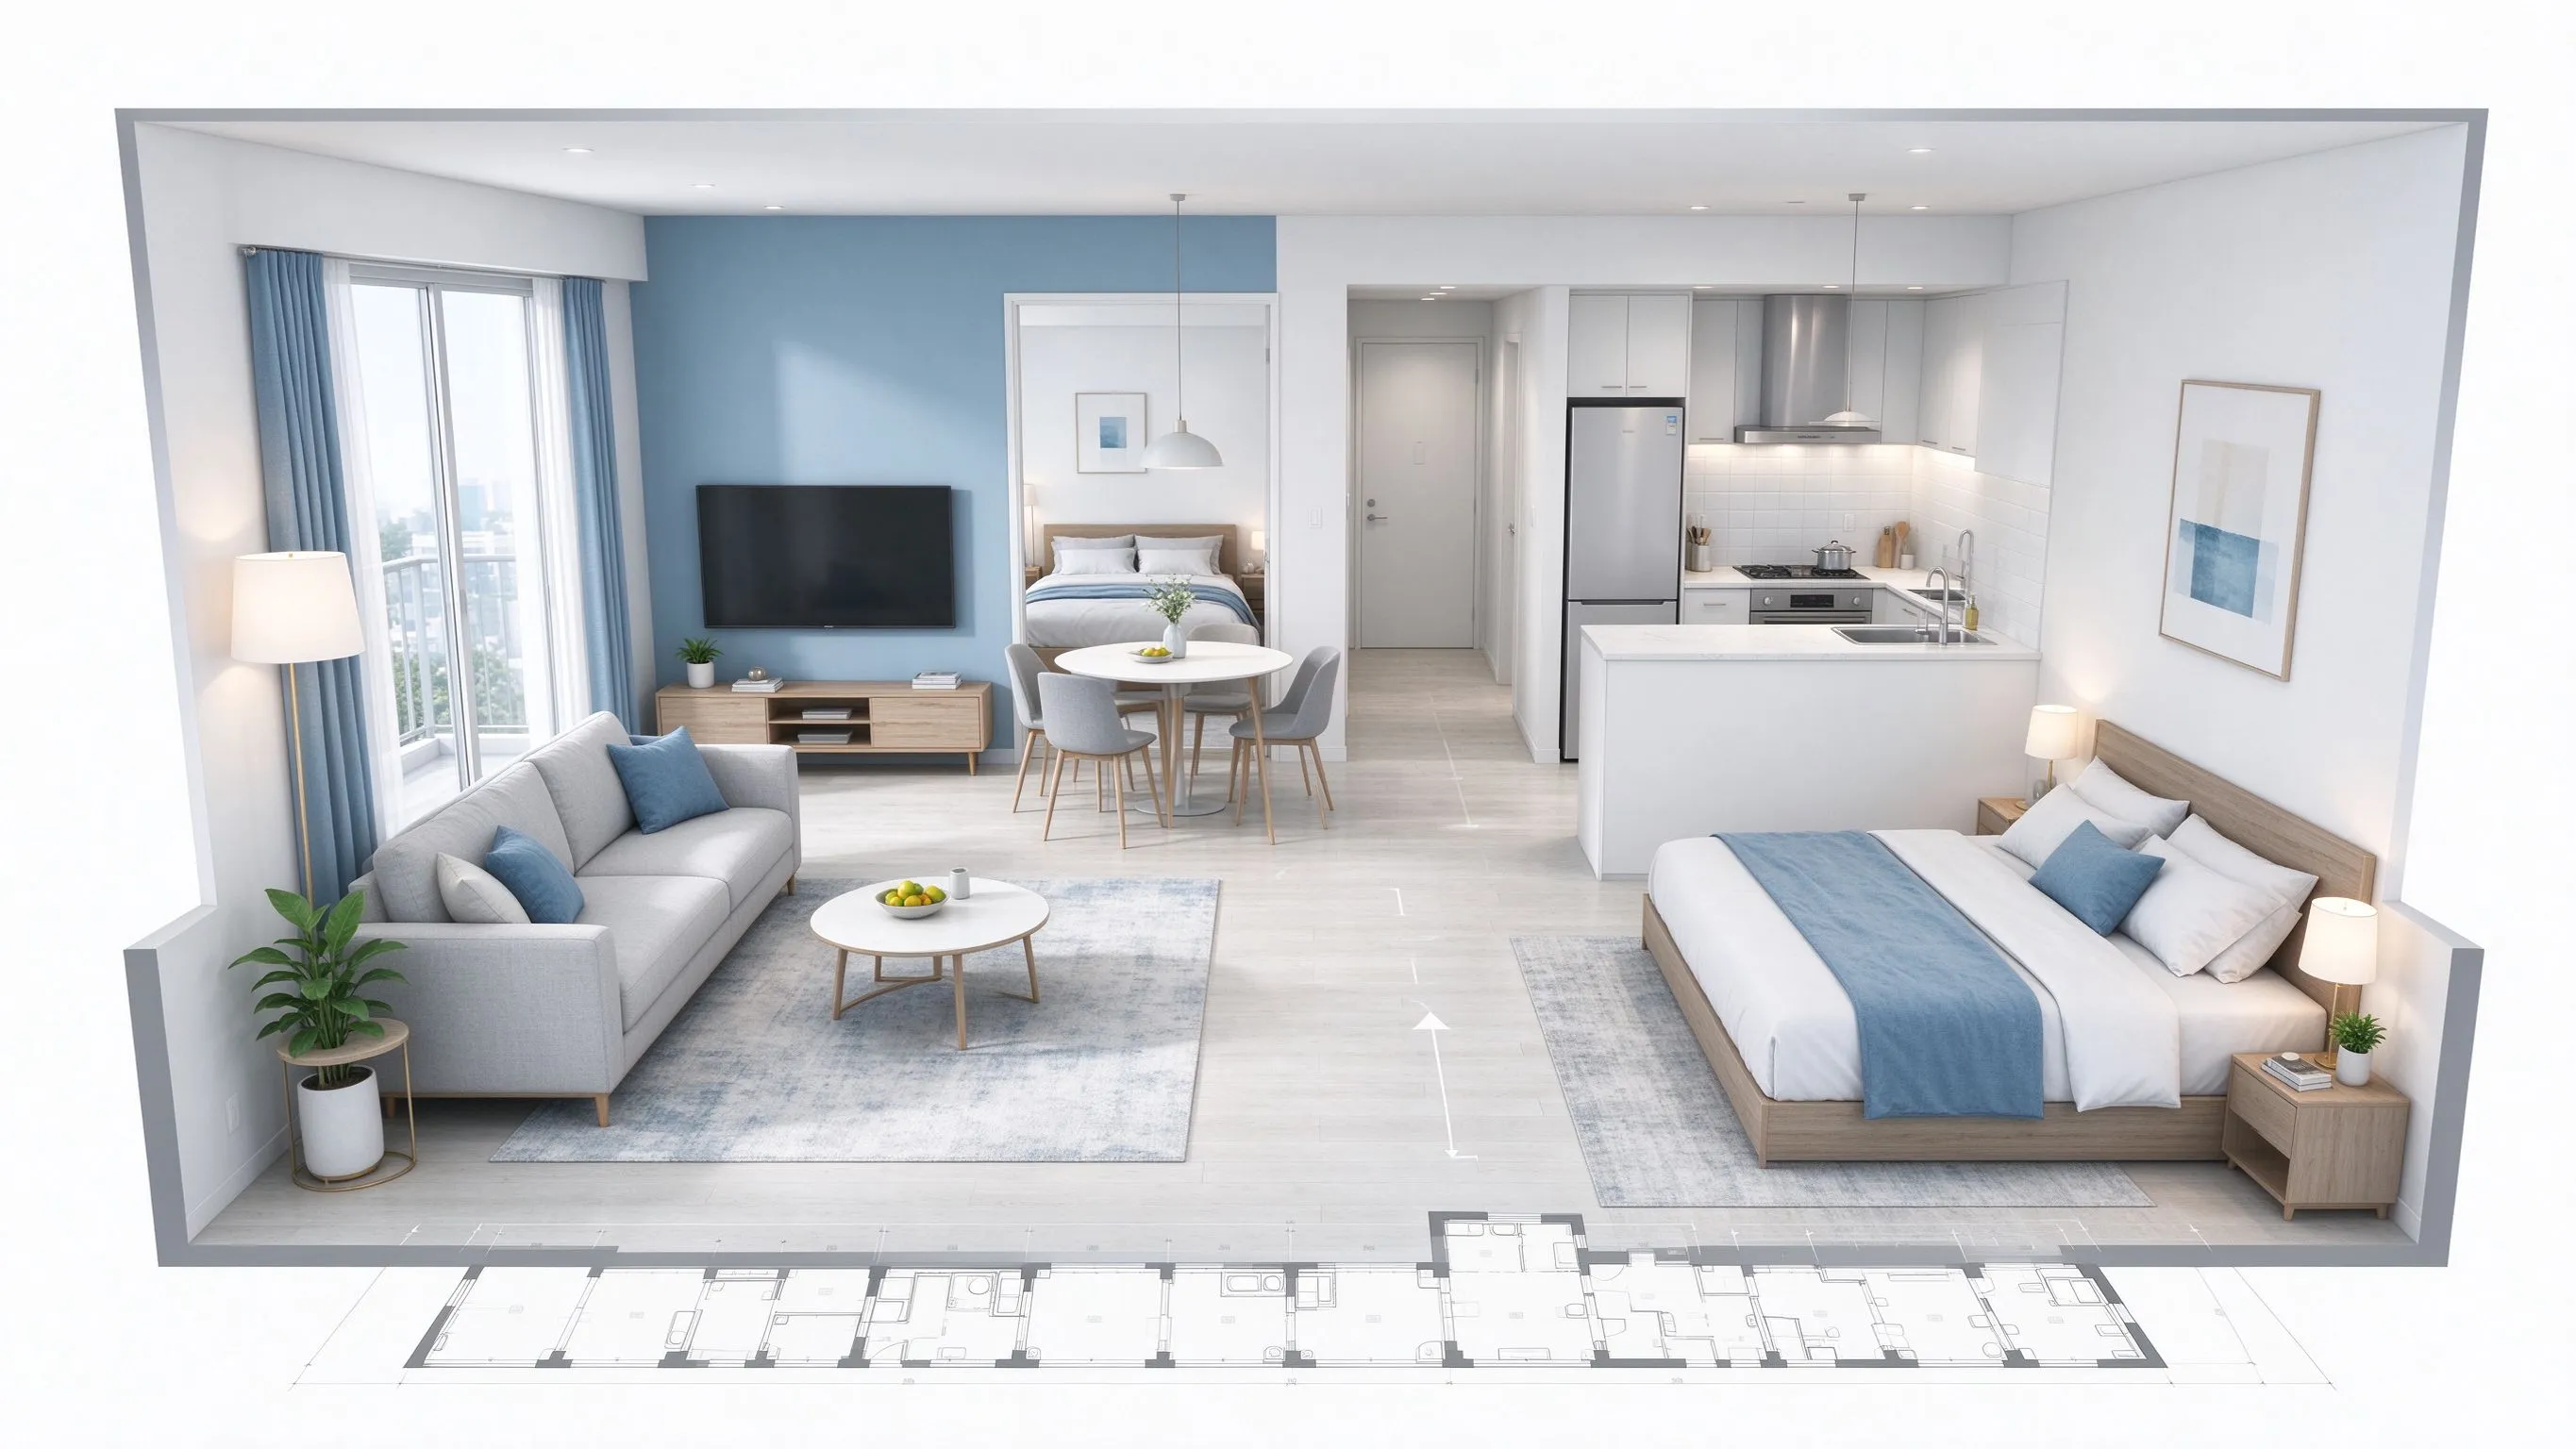
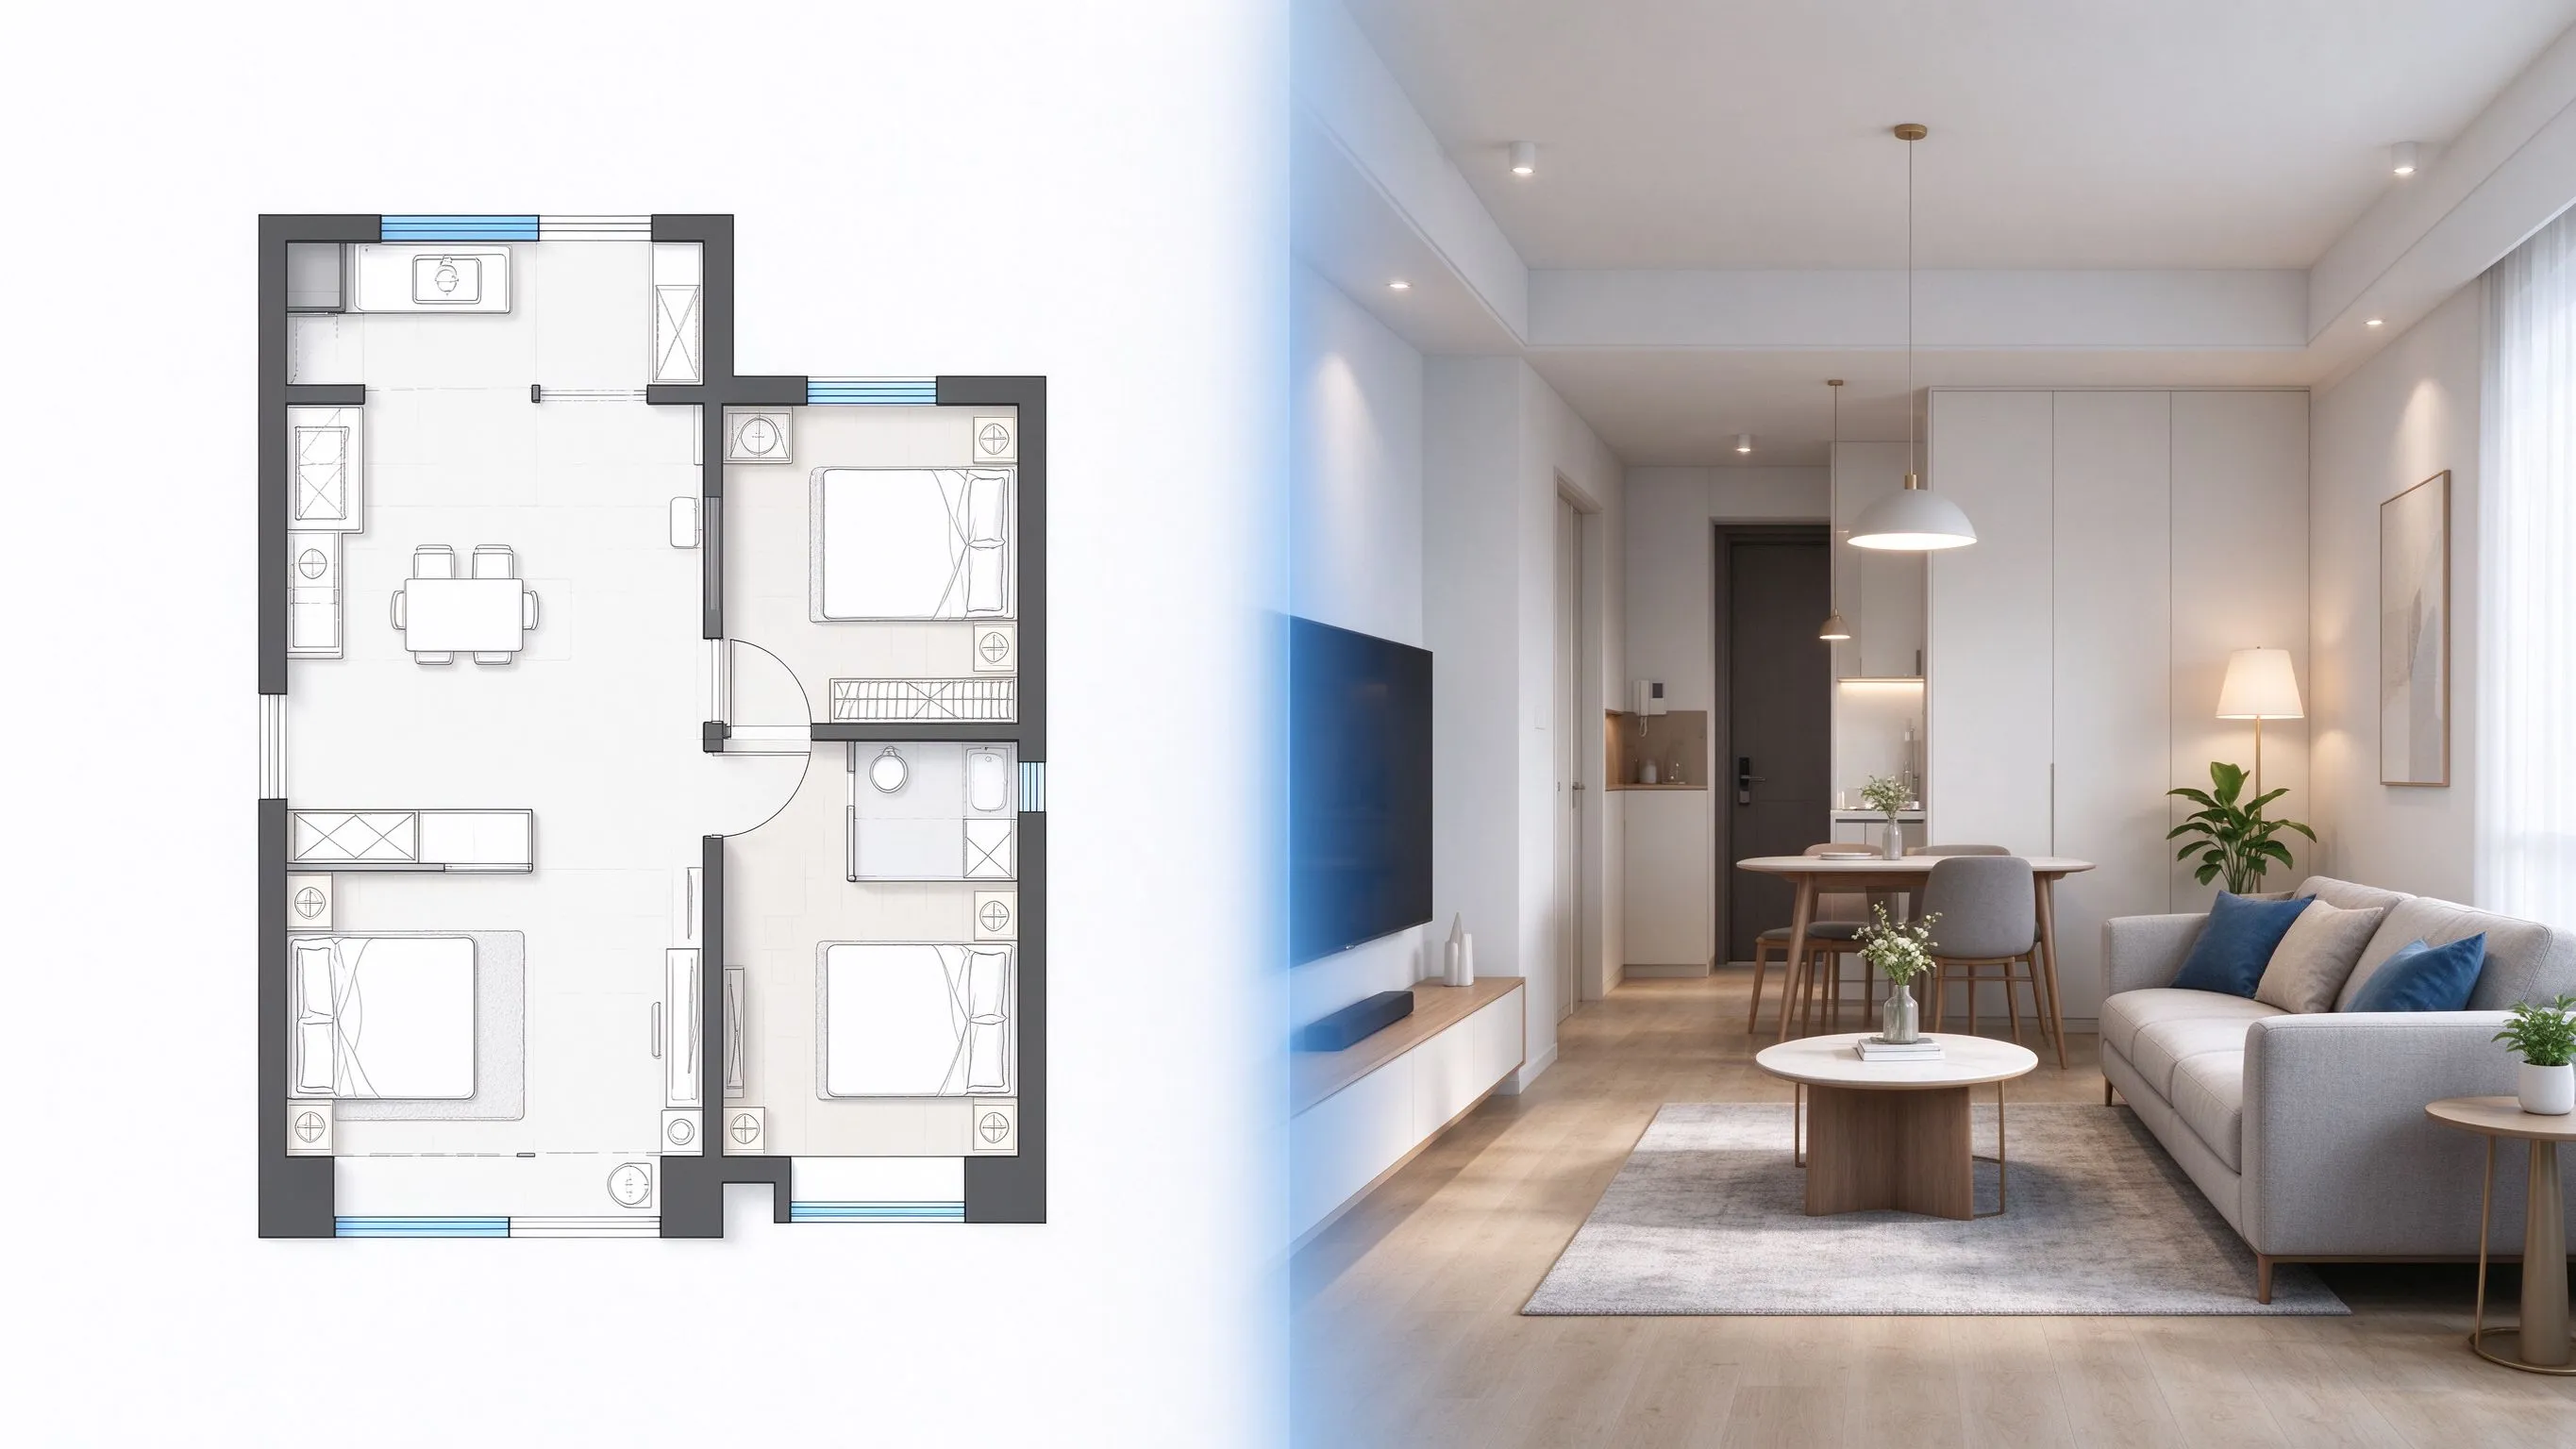
A flat floor plan is useful for measurements and layout. A 3D view adds depth, furniture context, and a more intuitive sense of how the rooms connect.

  • Understand room proportions
  • Review furniture placement
  • See connections between spaces
  • Prepare clearer presentation visuals
Move from a 2D plan to one clear 3D result
KEEP THE WORKFLOW SIMPLE

Move from a 2D plan to one clear 3D result

The workspace stays focused on a single conversion task. Configure the visualization on the left and review the generated result on the right without unrelated follow-up actions.

  • One focused conversion workflow
  • Result-only preview area
  • Useful for design discussions
  • No extra modeling setup
HOW TO

How to convert a floor plan to 3D in three steps

Turn an existing 2D layout into a more visual 3D representation with a short workflow.

Upload the floor plan
01

Upload the floor plan

Start with a clear PNG or JPG floor plan. A plan with visible walls, rooms, doors, and windows gives the tool a better structural reference.

Set the 3D presentation
02

Set the 3D presentation

Choose the rendering style, view angle, and background. Add optional requirements when you need specific materials, lighting, or visual details.

Generate and review the result
03

Generate and review the result

Generate the 3D visualization and compare the room arrangement with the uploaded source plan before using or sharing the result.

EXAMPLES

Floor plan to 3D examples for common spaces

Use a finished floor plan as the starting point for a more visual view of the space.

Modern Apartment

Modern Apartment

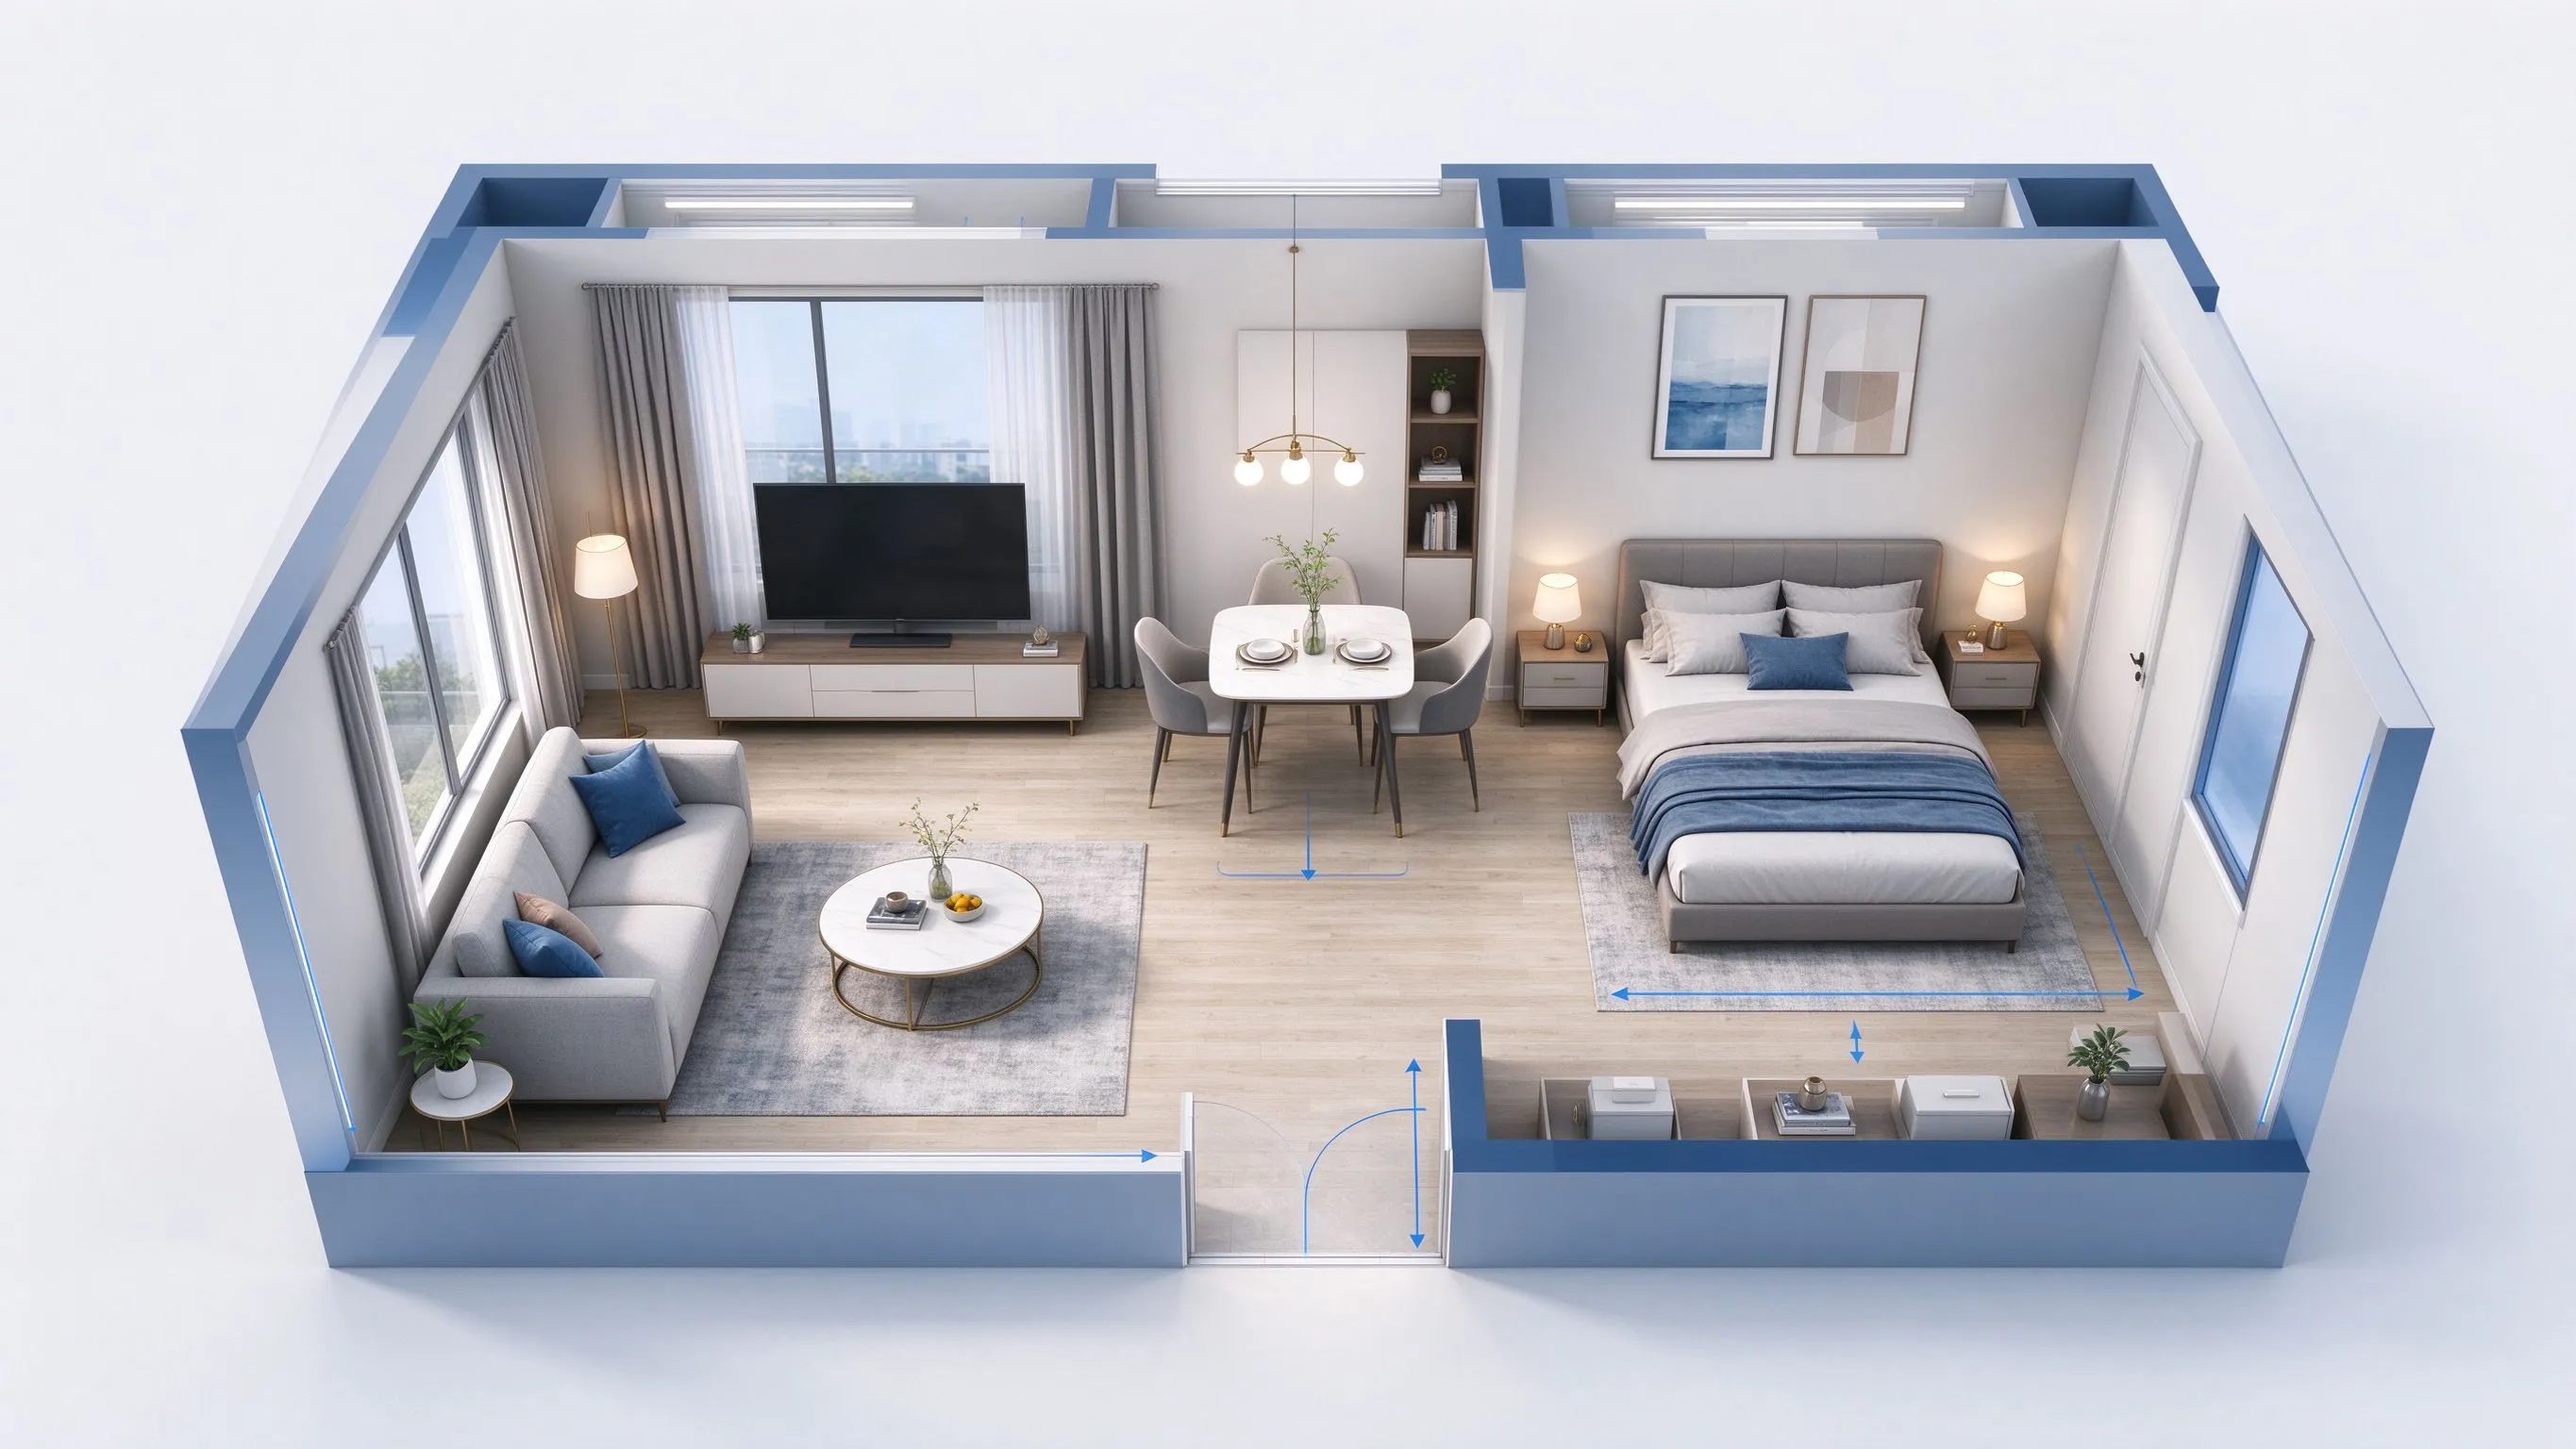
Turn a compact apartment plan into a furnished 3D view

Open-Plan Home

Open-Plan Home

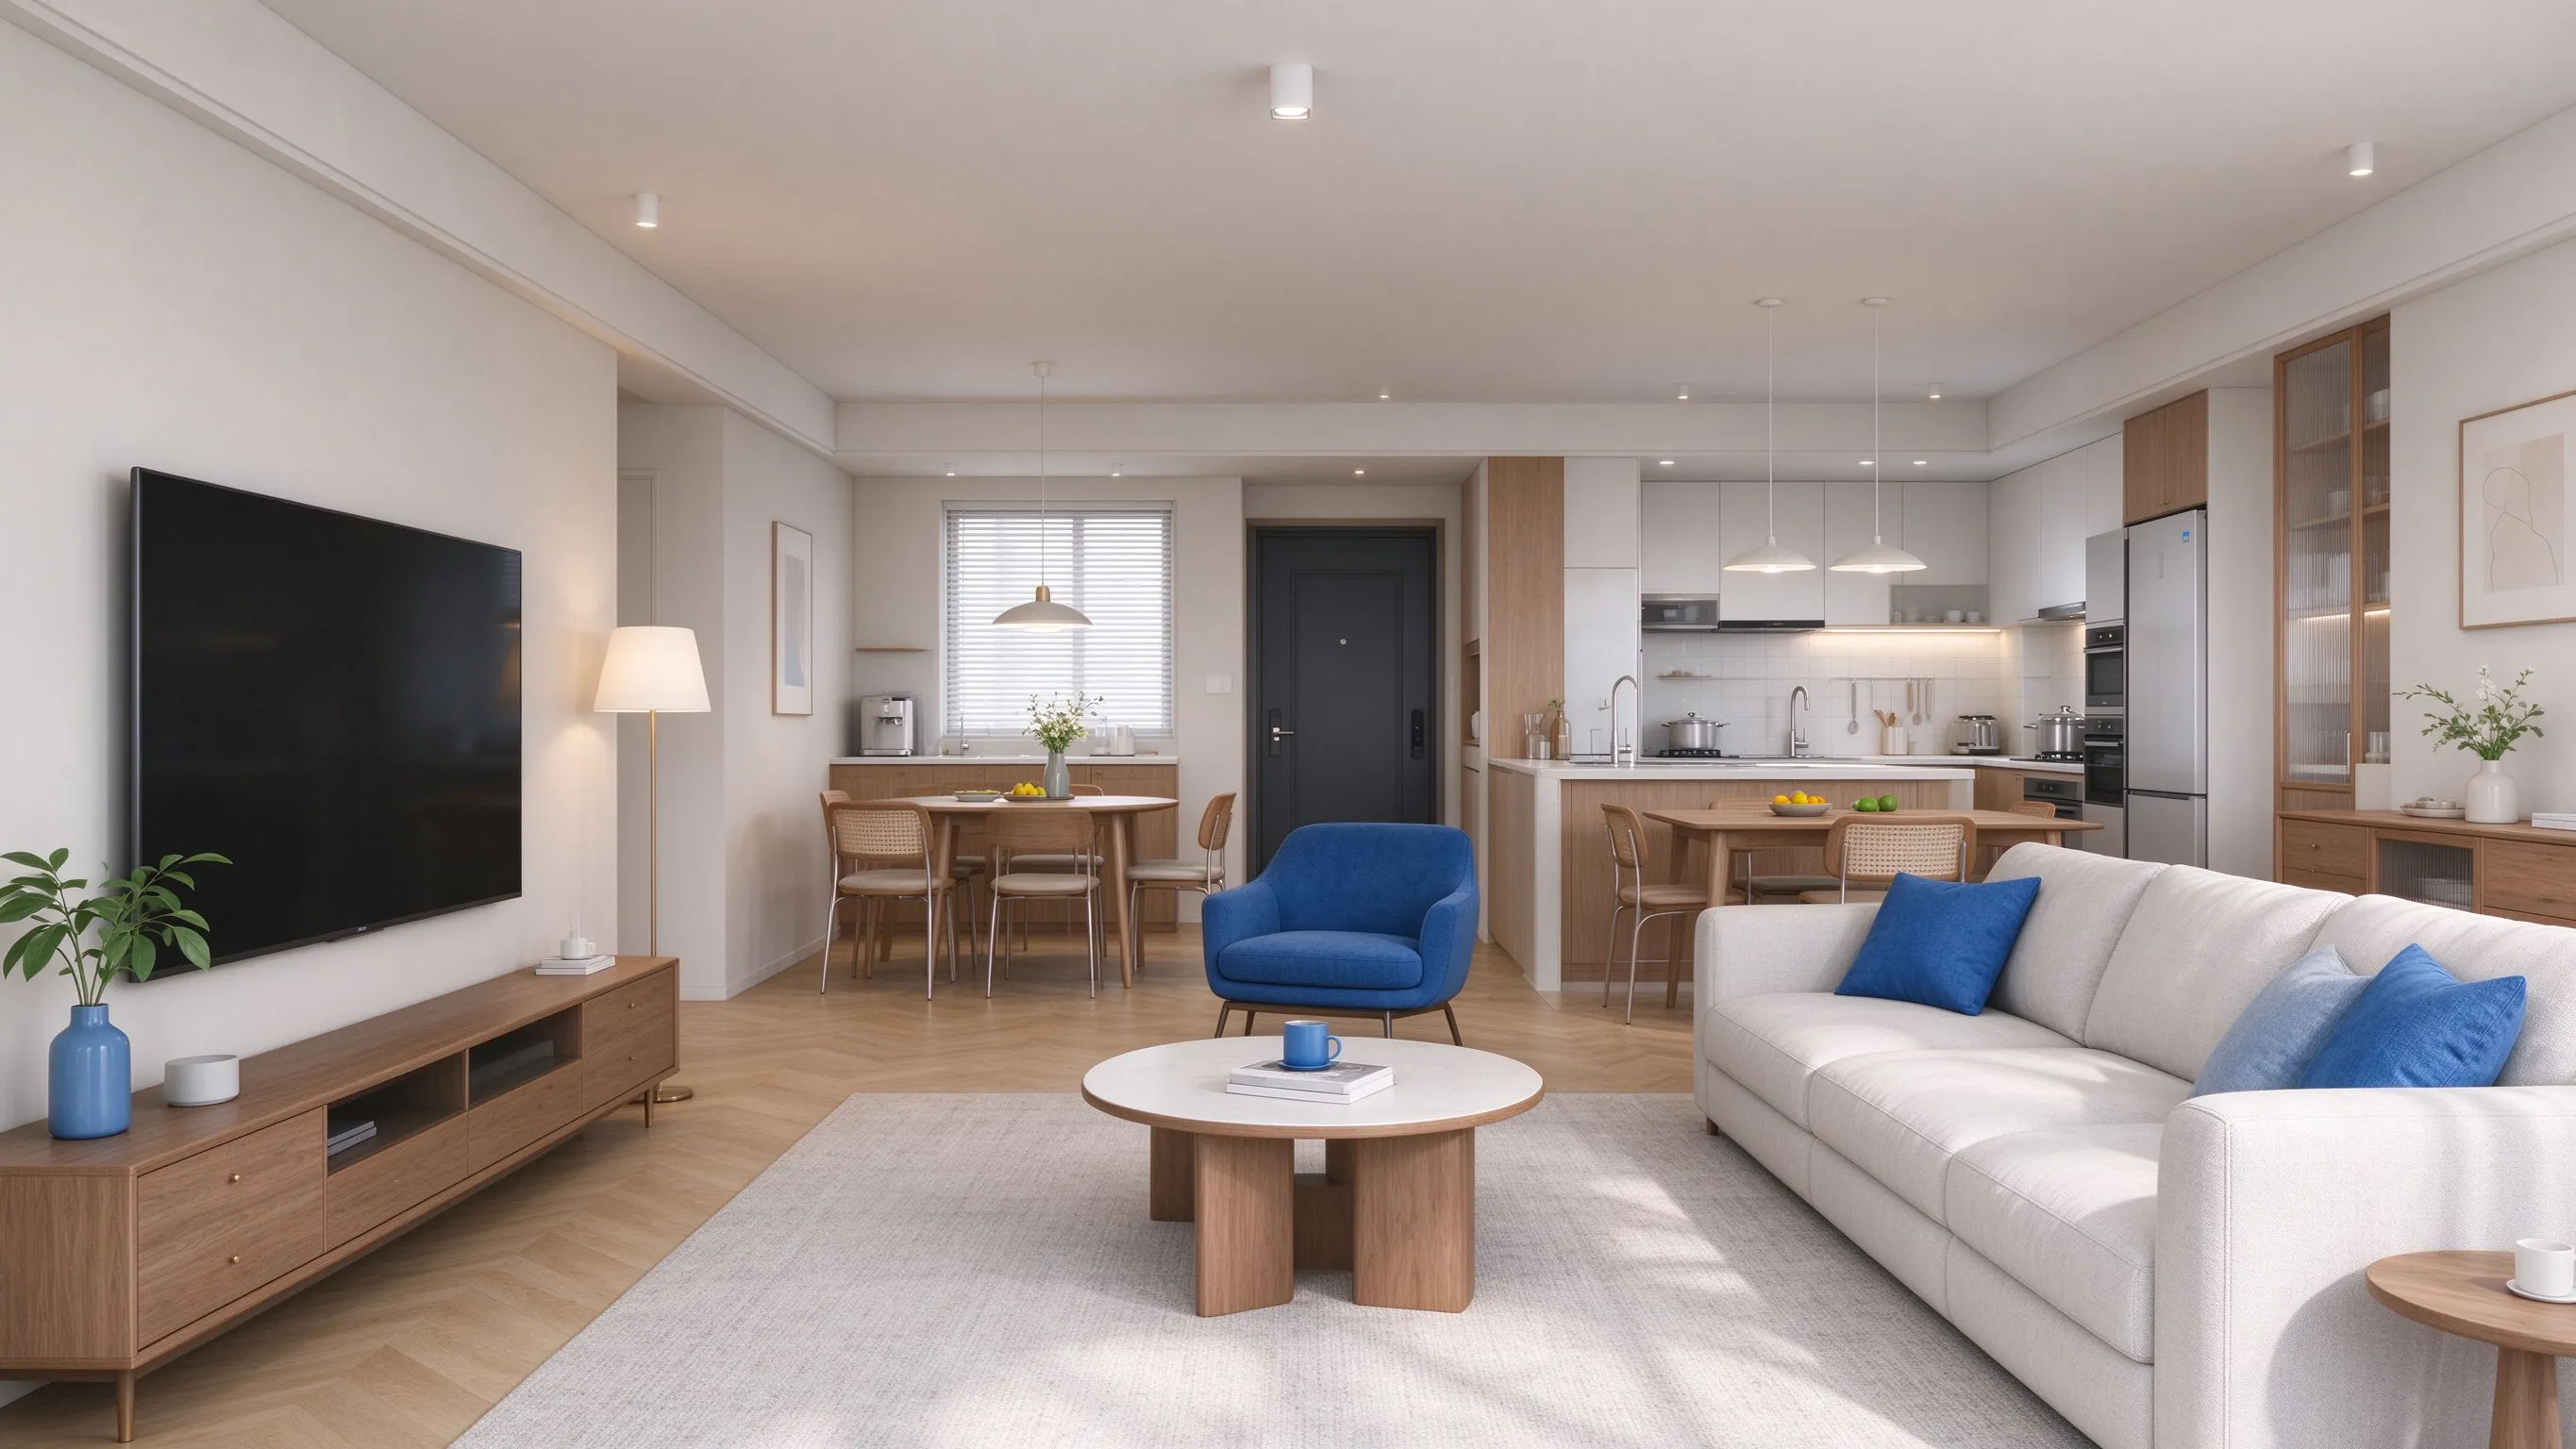
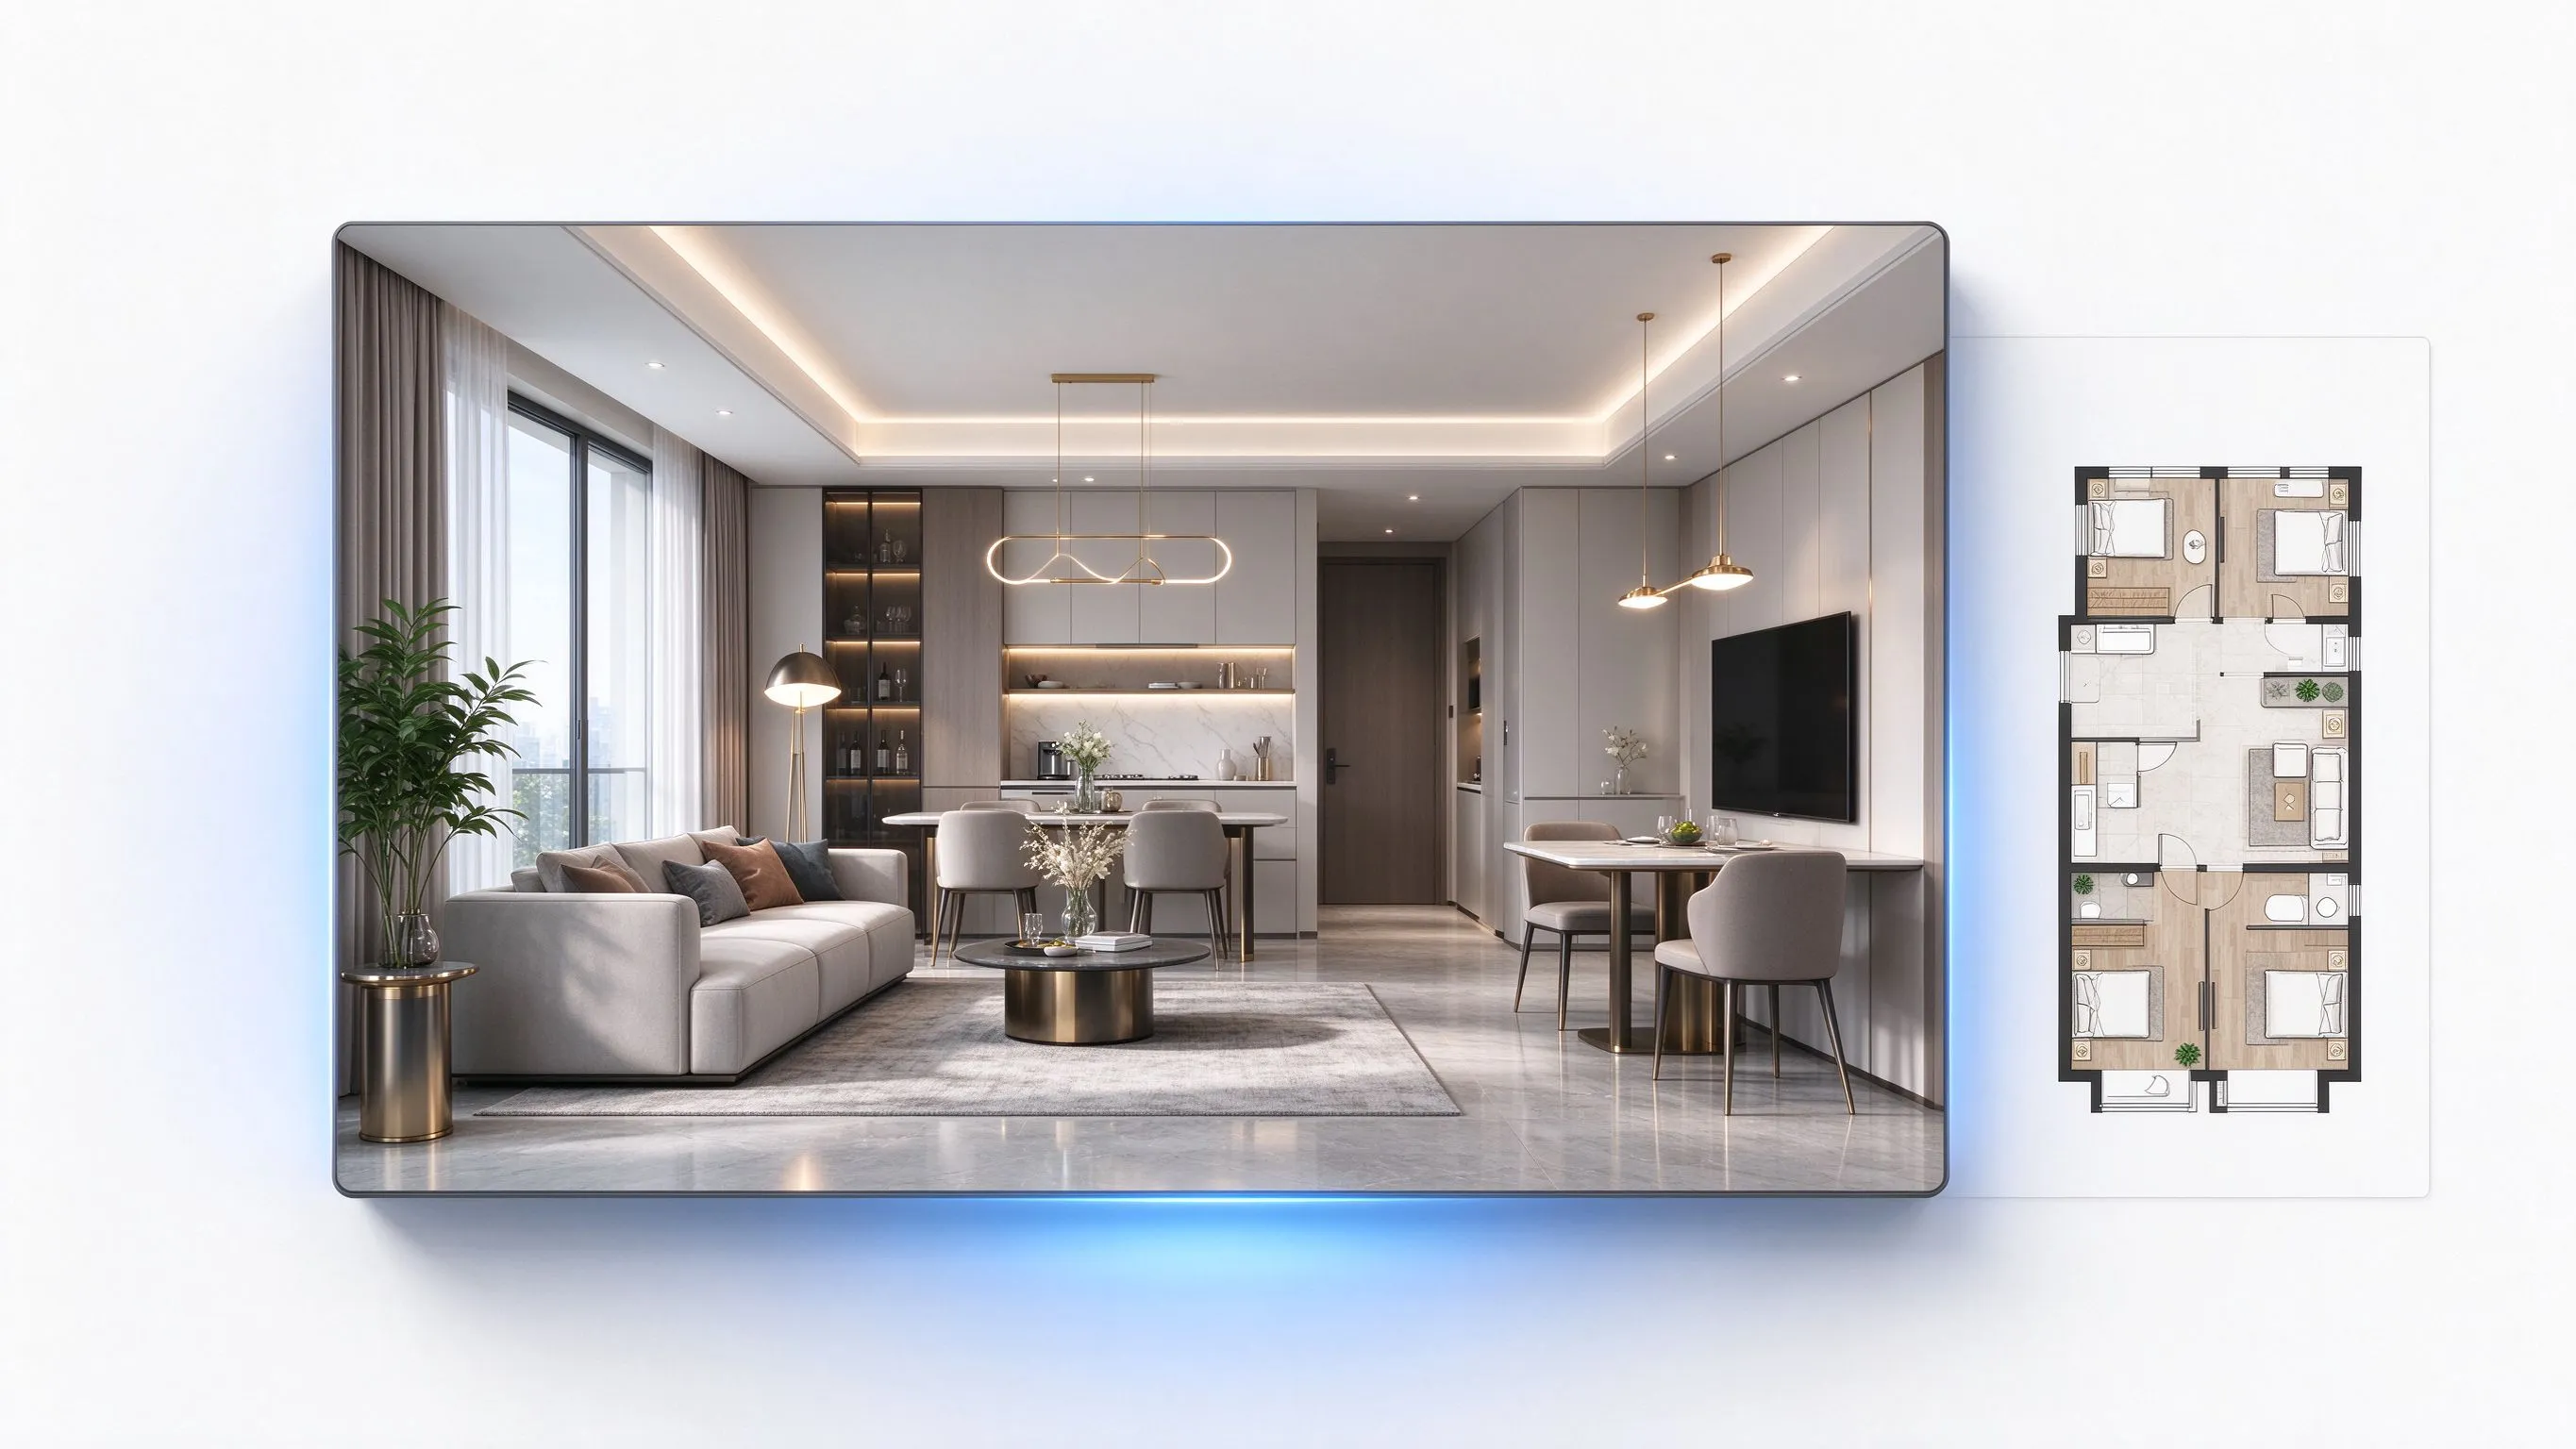
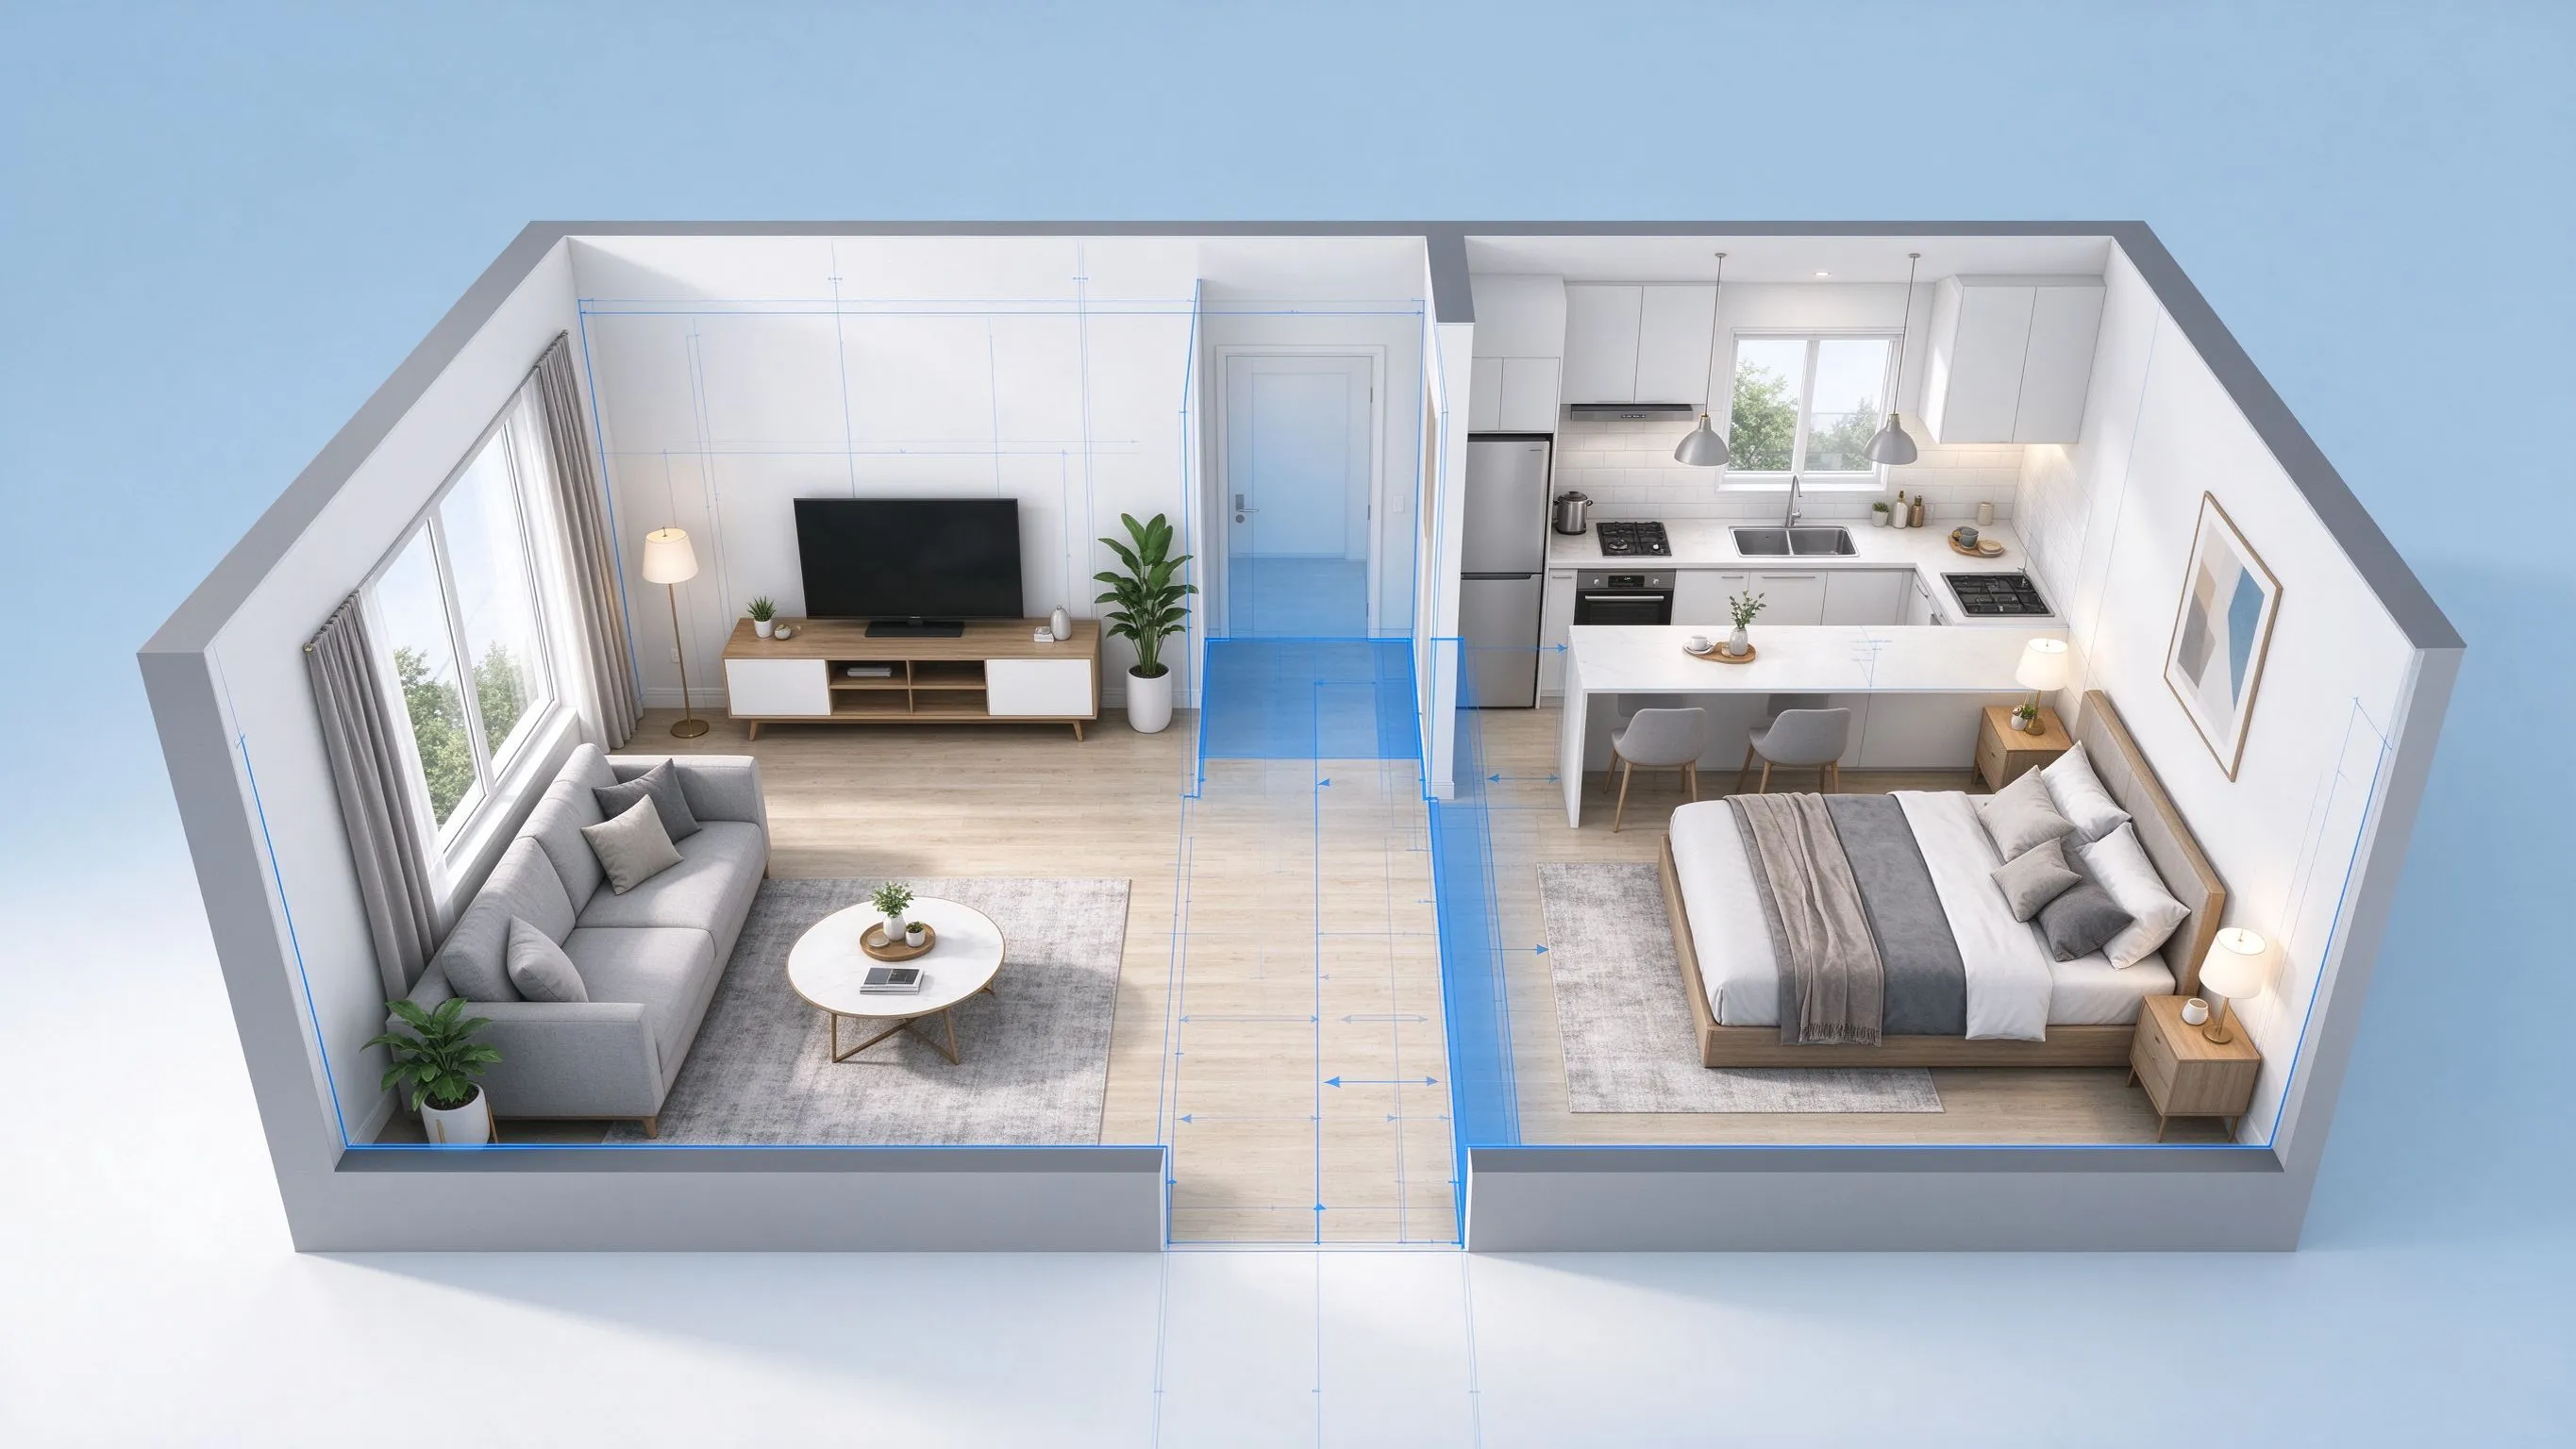
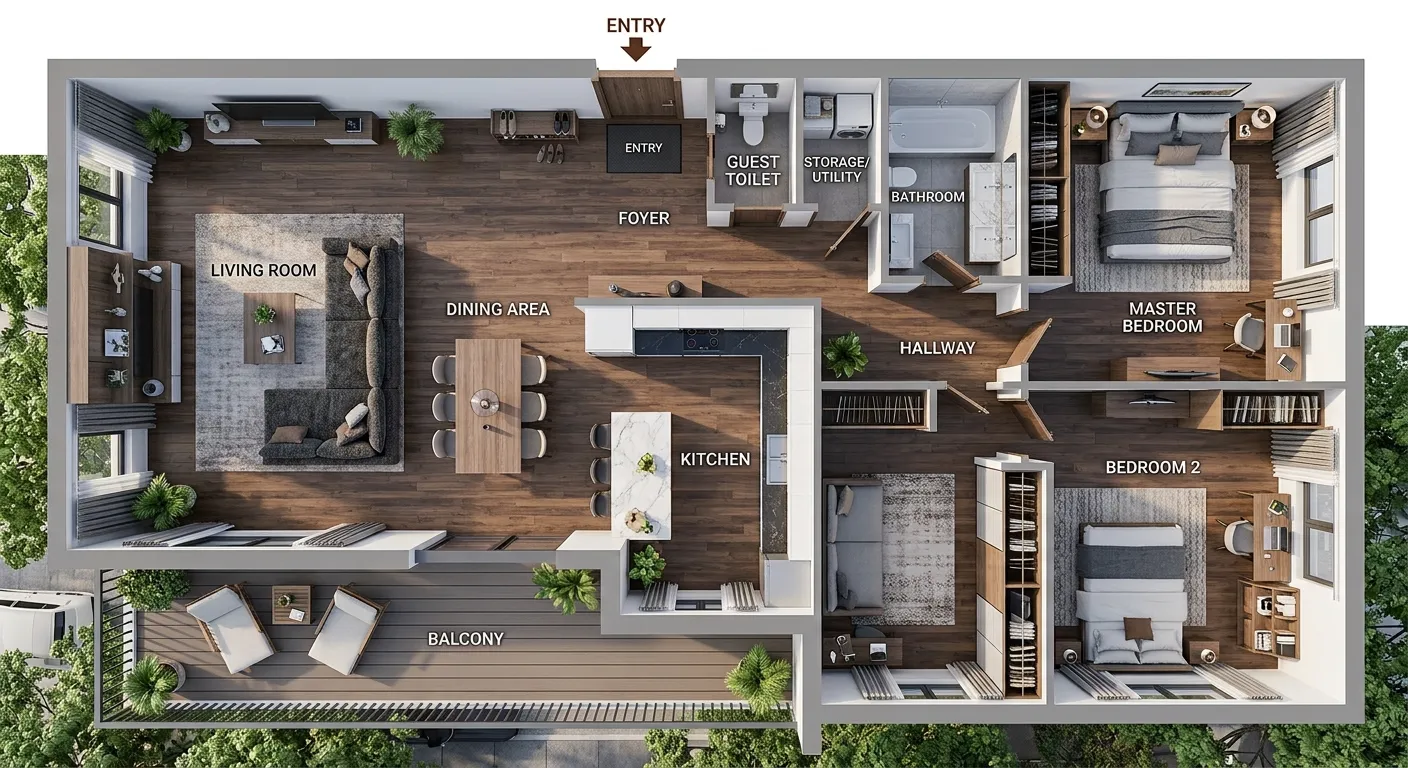
Visualize the connection between living, dining, and kitchen areas

Office Layout

Office Layout

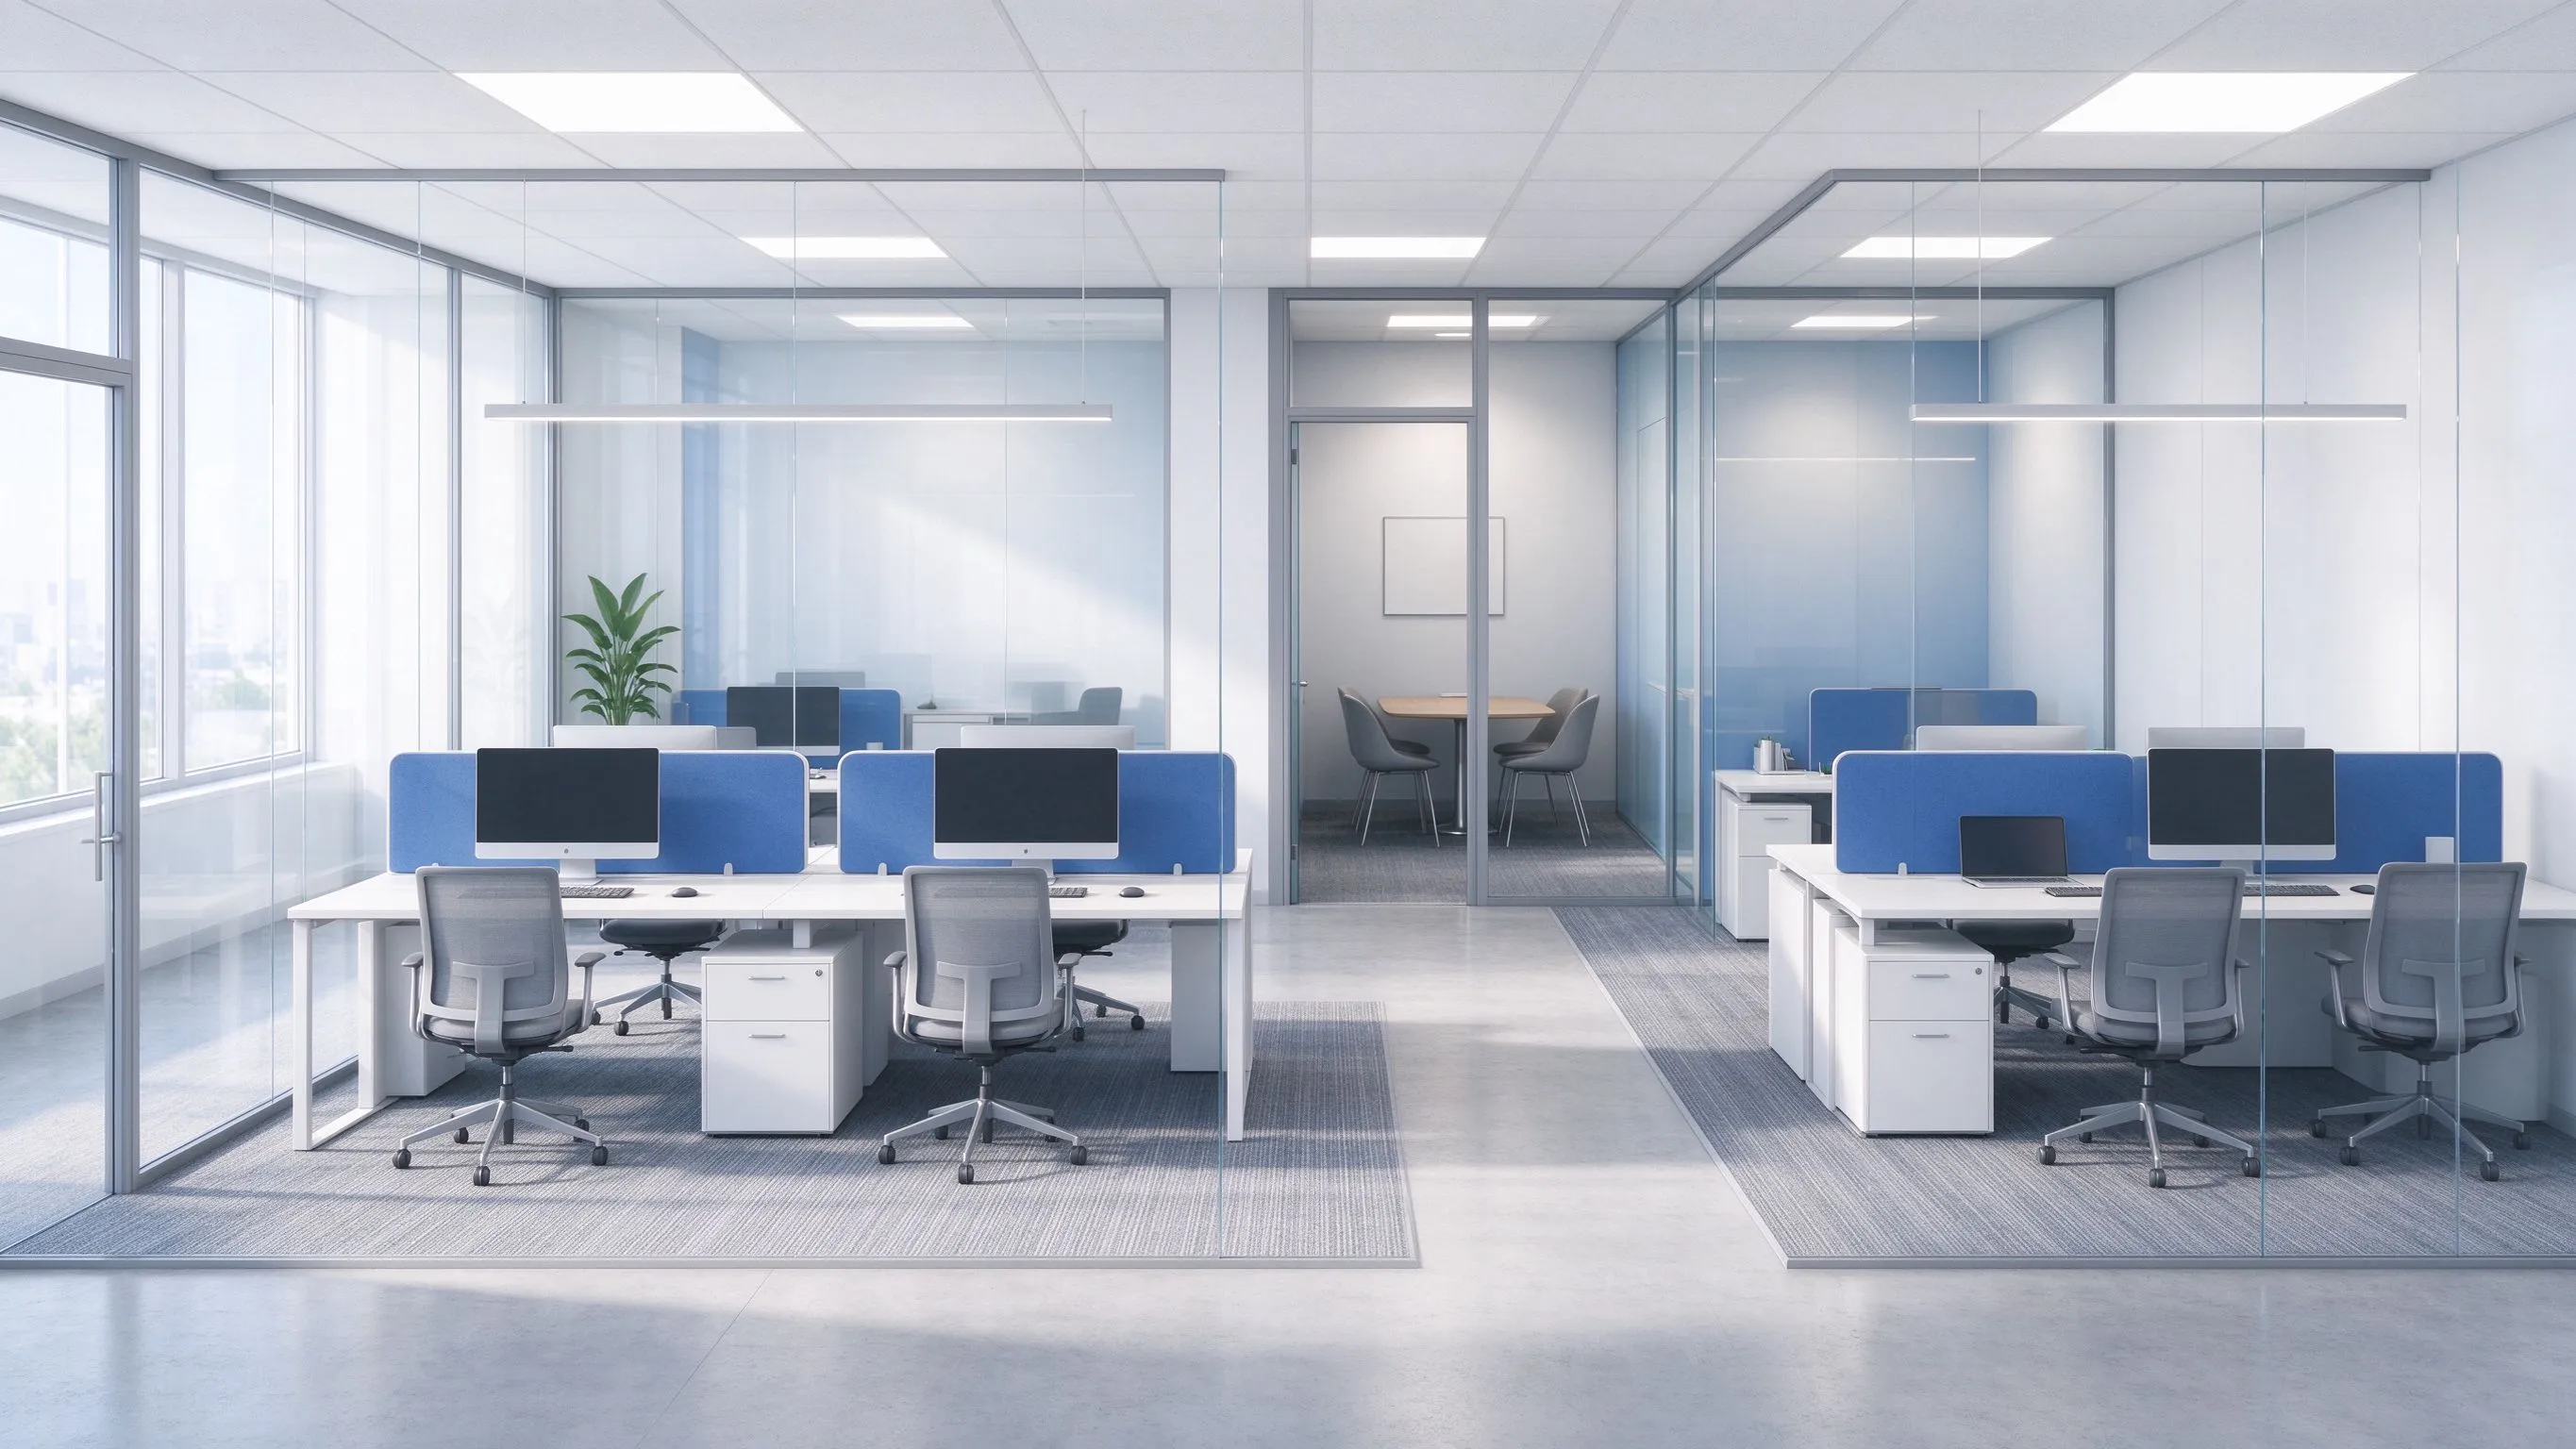
Use 3D context to review desks, meeting rooms, and circulation

Empty Interior

Empty Interior

Create a clean spatial view before deciding on furniture

USE CASES

When a 3D floor plan view is useful

Use the conversion when the 2D layout is ready but a flat drawing does not communicate the space clearly enough.

Interior Planning

Interior Planning

Review furniture, room proportions, and the overall feel before making design decisions.

Client Presentations

Client Presentations

Give clients a more intuitive view of a proposed layout than a flat floor plan alone.

Property Marketing

Property Marketing

Turn a clean floor plan into a more visual asset for listings, project pages, or planning materials.

Design Review

Design Review

Use a 3D representation to discuss circulation, furniture placement, and room relationships.

WHY THIS WORKFLOW

A practical step between a 2D plan and a 3D presentation

The workflow stays focused on visualization: start with the plan you already have, choose how the result should be presented, and review the space in three dimensions.

01

Start with the finished layout

No need to generate a new floor plan when the room arrangement is already decided.

02

Use focused visual controls

Choose the rendering style, camera angle, and background without technical modeling settings.

03

Add requirements only when needed

Use the optional field for materials, lighting, or presentation details while keeping the plan as the reference.

04

Review one clear result

Check the generated 3D visualization against the uploaded floor plan before using or sharing it.

Review the result against your source plan. Generated visualizations are not dimension-certified architectural models.

NEXT STEP

Continue with the next planning task

Already have a floor plan? Use Floor Plan to 3D for visualization. Need to change the drawing or create a new layout? Continue with the matching tool.

FAQ

Floor plan to 3D questions

Common questions about converting an existing 2D floor plan into a 3D visualization.

It is a focused workflow for turning an existing 2D floor plan into a 3D visualization. The purpose is to make the layout easier to understand from a spatial perspective.
The workflow accepts PNG and JPG floor plan images. A clear plan with visible walls, rooms, doors, and windows is the best starting point.
No. The starting point is an existing floor plan. The goal is to create a 3D visual representation rather than generate a new room layout.
You can choose the rendering style, view angle, and background. An optional requirements field lets you describe materials, lighting, or other visual preferences.
The converter uses the uploaded plan as its structural reference, but the result is a visualization rather than a dimension-certified model. Verify measurements before design, construction, or permitting decisions.
Use Floor Plan Editor when you need to change the 2D drawing itself. Use Floor Plan to 3D when the layout is ready and you mainly need a more visual representation.

Turn your 2D floor plan into a 3D view

Upload the plan, choose a visual direction, and review the space from a more realistic perspective.

Convert to 3D →